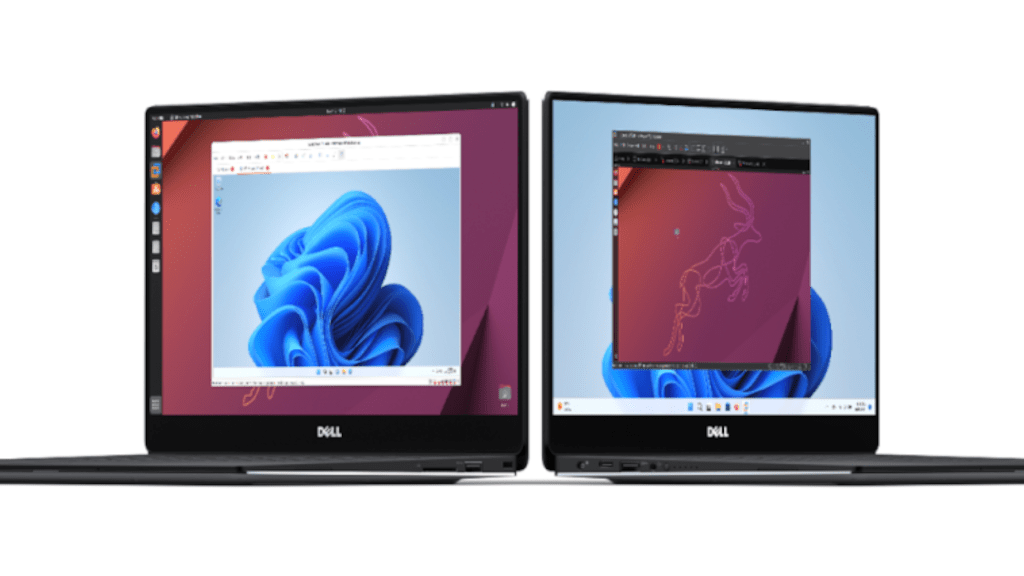
Want to explore Linux, test different Windows versions, or experiment with other operating systems without spending a fortune? VMware Workstation Pro, previously priced at around $250, is now available free for personal use. This guide provides a step-by-step walkthrough on how to download and install this powerful virtualization software.
Downloading VMware Workstation Pro
While offered directly on the Broadcom website, locating the download can be tricky. Here’s how to navigate the process:
-
Create a Broadcom Account: Visit the Broadcom support portal and click “Register.” Enter your email address, complete the captcha, and confirm your registration via the email link. You’ll need to provide your name, country, and a secure password.
-
Skip the Profile Expansion: Upon registration, you’ll encounter a “Build Your Profile” prompt. This step is not required for personal use of VMware Workstation Pro and can be safely ignored. You don’t need a “Side ID,” which is only relevant for commercial licenses.
-
Access the Download Area: Navigate directly to the Broadcom download page for VMware Workstation Pro. You might need to re-enter your login credentials.
-
Select the Correct Version: Locate “VMware Workstation Pro 17.0 for Personal Use (Windows)” (or the Linux version if applicable). Click the blue link corresponding to the latest release (e.g., VMware Workstation Pro 17.5.2).
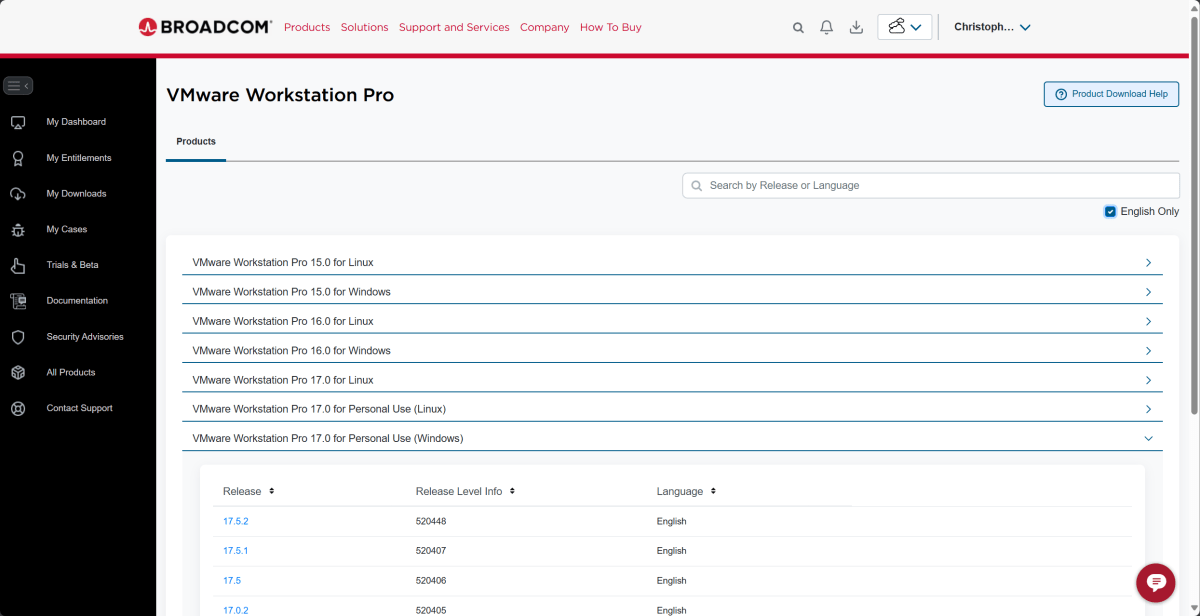 VMware Workstation 17 – Download
 -
Initiate the Download: This should start the download of an executable file (e.g.,
VMware-workstation-full-17.5.2-23775571.exe). You may need to verify your information and accept the terms of use, especially if your account is new. -
Troubleshooting Download Issues: Occasionally, a “Screening required” message might appear above the download button. This likely indicates an account verification delay. Try refreshing the page, logging out and back in, or attempting the download later. Ensure you’ve checked “I agree to the terms and conditions.”
Installing VMware Workstation Pro
Installation is straightforward:
-
Run the Executable: Double-click the downloaded .exe file and follow the on-screen prompts, clicking “Next” until you reach the license agreement. Accept the terms.
-
Enable Hypervisor Platform: When prompted, select “Install Windows Hypervisor Platform (WHP) automatically” and click “Next.”
-
Customize Installation: Accept the default installation directory. The optional keyboard driver isn’t typically necessary.
-
User Experience Settings: In the User Experience Settings dialog, you can uncheck the options related to sending usage data to Broadcom if you prefer.
-
Complete the Installation: Click “Install” and then “Finish” to complete the setup.
That’s it! You now have VMware Workstation Pro installed and ready to create virtual machines. For a comprehensive guide on setting up and using virtual machines with VMware Workstation Pro, check out our dedicated tutorial.


