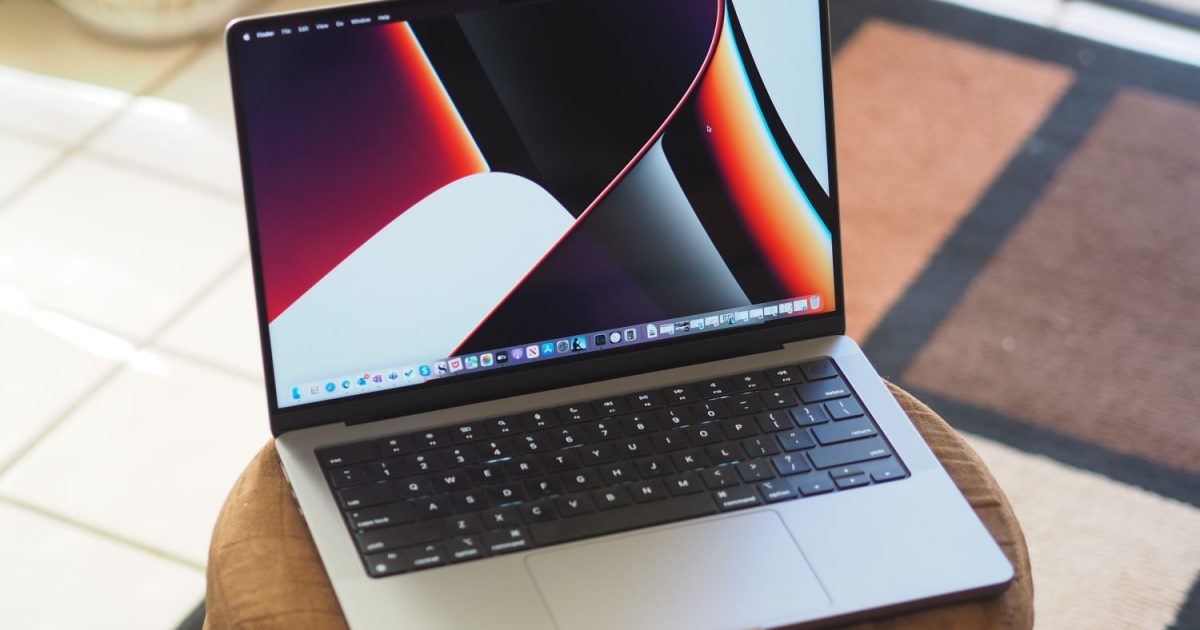
Keeping your laptop keyboard clean is essential for maintaining both its performance and hygiene. Over time, dust, crumbs, and other debris can accumulate, affecting its functionality and potentially harboring germs. This guide provides comprehensive steps for cleaning your laptop keyboard, from simple dusting to tackling sticky spills.
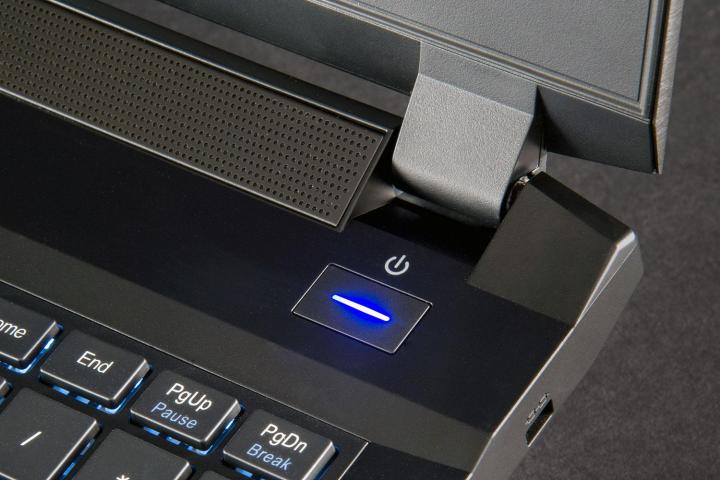 Digital Storm Triton laptop powerImage alt text: A close-up of a laptop keyboard, highlighting the potential for dust and debris accumulation.
Before starting the cleaning process, take a few precautionary steps:
- Back up your data: Always a good practice before any maintenance.
- Power down completely: Turn off your laptop and remove the battery if possible.
- Disconnect everything: Unplug the power adapter and any connected accessories.
- Dedicated space and time: Ensure you have a clean workspace and ample time for thorough cleaning.
Removing Dust Buildup
Dust is a common keyboard nuisance. While less dramatic than sticky spills, accumulated dust can affect key responsiveness. Use a vacuum cleaner with a small brush attachment to gently remove dust between and around the keys. Avoid using a powerful vacuum as it could damage the keys.
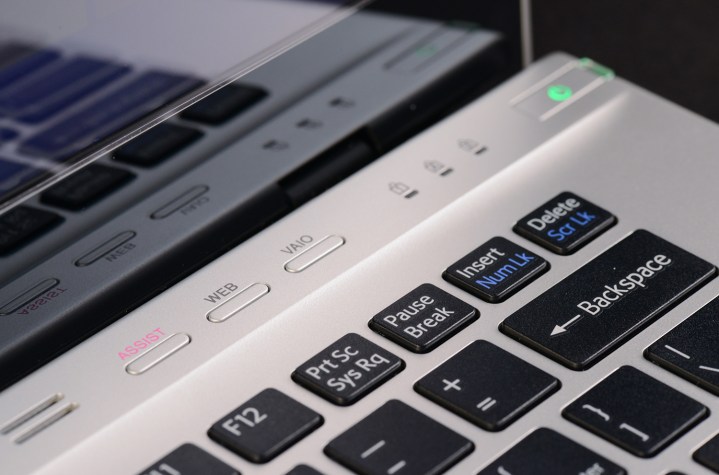 sony vaio t14 touch laptop keysImage alt text: A laptop keyboard with visible dust accumulation, emphasizing the need for regular cleaning.
While a specialized micro vacuum attachment is ideal, a standard hand vacuum with a brush attachment is usually sufficient. Avoid using compressed air, as it can push debris further into the laptop’s internals.
Tackling Stubborn Grime
Grime, a combination of oils, skin cells, and food residue, can create unsightly stains. A melamine cleaning sponge, slightly dampened and wrung out, is highly effective in removing this type of grime. Gently rub the sponge on the affected keys, being careful not to rub off the key markings.
A regular sponge can also be used, but it may not be as effective against stubborn stains. Melamine sponges, while effective, can be abrasive, so use them with caution.
Disinfecting Your Keyboard
Germs are a concern, especially in shared environments. Disinfect your keyboard using isopropyl alcohol (IPA) and cotton swabs. Dampen a swab with IPA, ensuring it’s not dripping, and carefully wipe each key. Avoid stronger alcohol solutions, as they could damage the key markings.
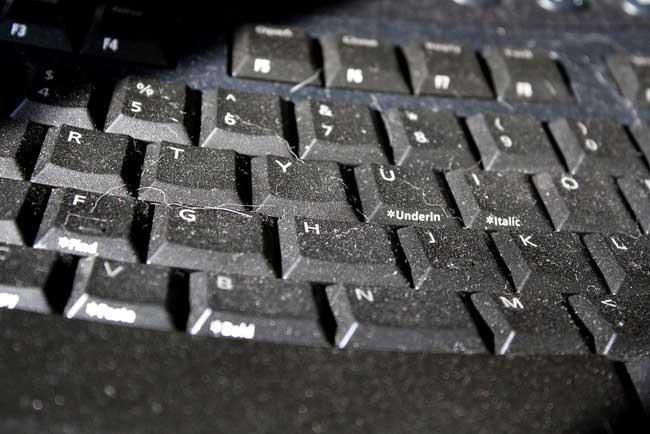 dirty-keyboard_dtImage alt text: A close-up of a dirty laptop keyboard, highlighting the potential for bacteria and germs.
While this method is effective, it can be time-consuming, so set aside sufficient time for thorough disinfection.
Dealing with Spills
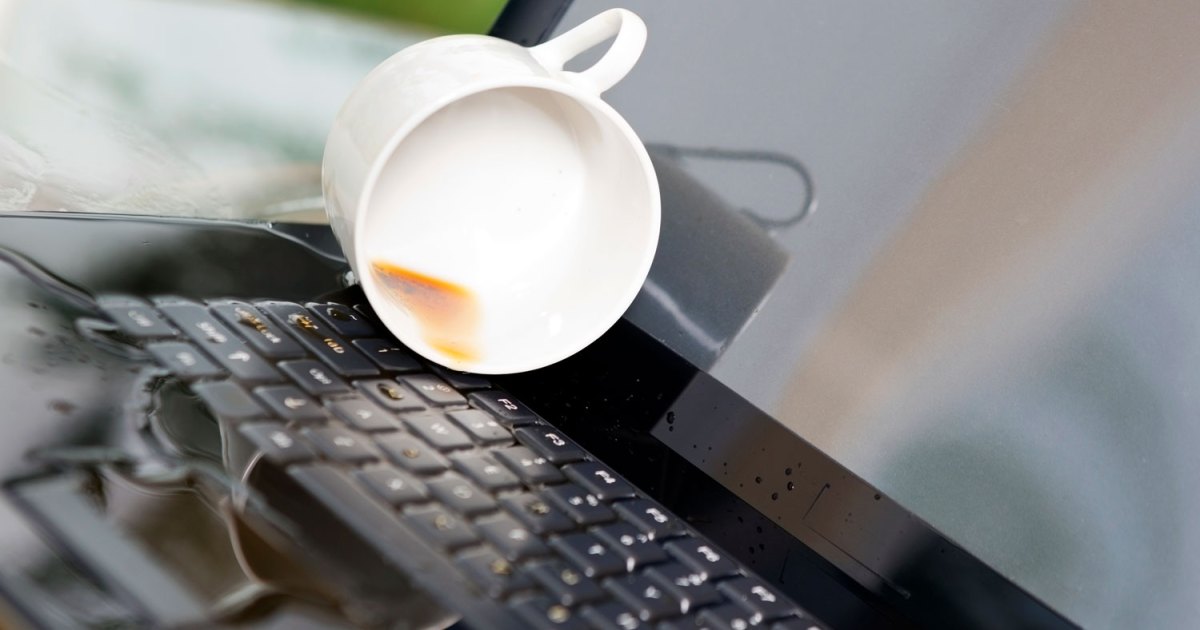
Spills are a major keyboard hazard. Immediately shut down the laptop, remove the battery, and unplug the power adapter. Allow the laptop to dry completely, which may take several days, before turning it back on. For severe spills, professional repair may be necessary.
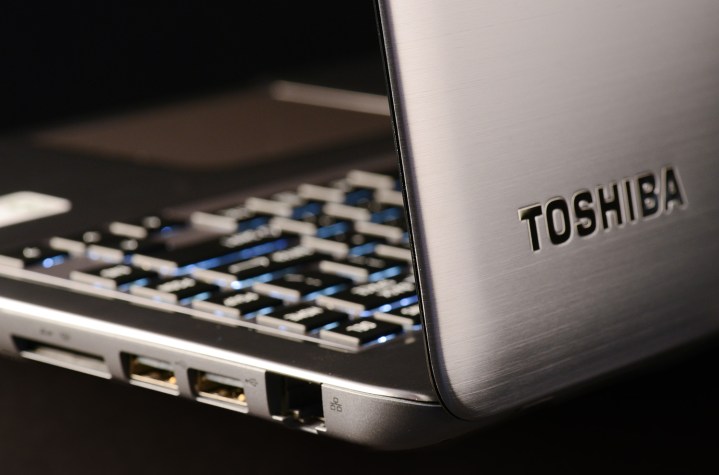 toshiba 840t laptop left ports keyboard macroImage alt text: A detailed view of a laptop keyboard, illustrating the complexity of its components and the potential damage from liquid spills.
Cleaning up the spill residue may require removing the keyboard, which varies in difficulty depending on the laptop model. Consult your laptop’s manual or online resources for instructions. If unsure, seek professional assistance to avoid causing further damage.
Maintaining a Clean Keyboard
Regular cleaning is essential for optimal keyboard performance and hygiene. Incorporate keyboard cleaning into your regular laptop maintenance routine. This will prevent the buildup of dust, grime, and potentially harmful bacteria. For more comprehensive laptop cleaning, including the display, refer to dedicated guides.


