A clean mouse pad not only looks better but also enhances your gaming or work performance. Even the most advanced mouse pads can accumulate dirt and grime over time, impacting their responsiveness. This guide provides a step-by-step approach to cleaning your mouse pad and restoring it to near-new condition.
Maintaining a clean workspace improves hygiene and extends the lifespan of your peripherals. Whether you’re a casual user or a hardcore gamer, a clean mouse pad contributes to a more enjoyable and efficient experience. Let’s dive into the cleaning process.
Dust and Debris Removal
The first step in cleaning any mouse pad is removing loose dust and debris. This simple process can significantly improve its feel and performance.
Before you begin, if your mouse pad has any electronic components, such as RGB lighting or wireless charging, unplug it to prevent accidental damage during cleaning.
- Use a Cleaning Brush or Vacuum: A soft-bristled brush, like a cleaning brush or desk vacuum, is ideal for this task. Hold the mouse pad vertically and brush downwards, using gravity to your advantage. Consider brushing the debris into a dustpan or container to avoid spreading it further.
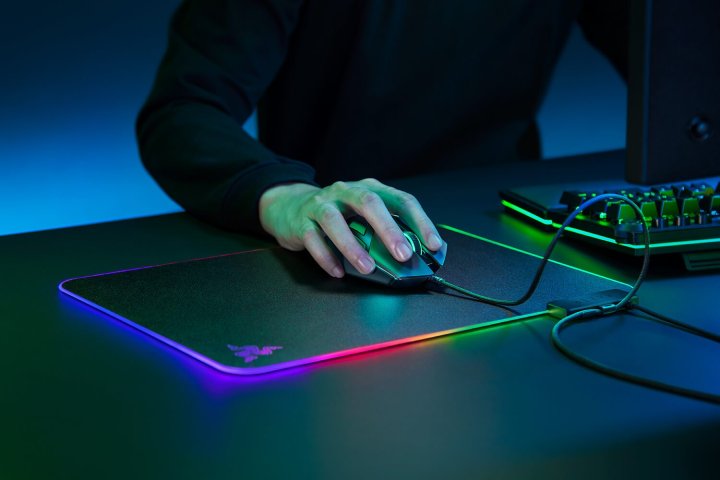 Razer Firefly 2 Mouse Pad A clean mouse pad like this Razer Firefly 2 ensures optimal performance.
Tackling Sticky Residue and Stains
Sticky residue and stains require a more targeted approach. Here’s how to deal with them:
-
Prepare a Cleaning Solution: Mix a small amount of mild soap or detergent in a bowl of warm water. Avoid harsh chemicals that could damage the mouse pad’s surface.
-
Gentle Cleaning with a Sponge: Dampen a soft sponge with the cleaning solution and wring it out thoroughly. Gently rub the affected areas in small, circular motions. Avoid excessive pressure or abrasive scrubbing pads, which could scratch the surface. Rinse the sponge frequently and repeat until the stain or residue is gone.
-
Rinse with Cold Water: Once the stains are removed, rinse the entire mouse pad with cold water to eliminate any remaining soap.
Drying Your Mouse Pad
Proper drying is essential to prevent damage and ensure optimal performance.
-
Air Drying: Place the mouse pad in a warm, dry location and allow it to air dry completely. Avoid using it while damp, as this could harm your mouse.
-
Speeding up the Drying Process: To expedite drying, place the mouse pad on a clean towel or paper towels and gently press down to absorb excess water. You can also use a hairdryer on a low heat setting to accelerate the final stages of drying.
Washing Machine Cleaning (Use with Caution)
While handwashing is generally recommended, some mouse pads can be machine washed. However, this method is harsher and should only be used for pads without electronic components.
-
Gentle Cycle and Low Temperature: Use a low temperature setting and a delicate or slow tumble cycle. Avoid high temperatures and aggressive spin cycles.
-
Air Dry Only: After machine washing, allow the mouse pad to air dry completely. Do not use a dryer, which could warp or damage the pad. Note that machine washing increases the risk of damage, especially for mouse pads with intricate stitching, vinyl coatings, or other sensitive features.
Maintaining a Clean Workspace
Now that your mouse pad is clean, consider extending your cleaning efforts to other peripherals and your workspace. A clean monitor or laptop screen can further enhance your productivity and enjoyment.
Have you considered cleaning your other peripherals? Maintaining a clean workspace improves both hygiene and performance.


