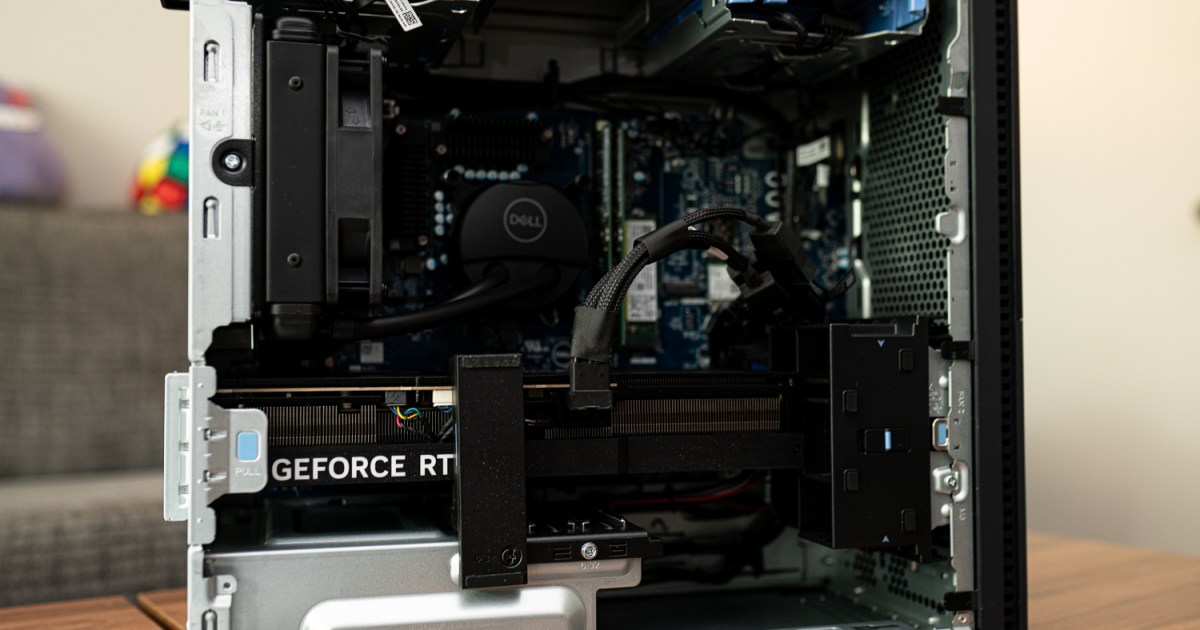
The motherboard is the backbone of your PC, determining compatible hardware. Knowing your motherboard model is crucial for building a new PC, upgrading components, or even updating drivers. While you might know how to check your GPU, finding your motherboard model requires different methods. This guide provides several quick and easy ways to identify your motherboard model on Windows.
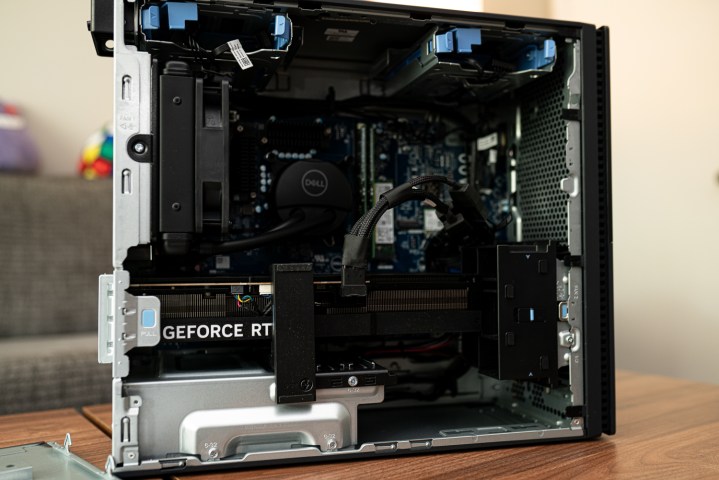 alt text: A person working on a computer with the side panel open, exposing the motherboard.
Using System Information
The easiest way to check your motherboard model is through Windows System Information.
-
Access System Information: Search for “System Information” in the Windows search bar and select the application. Alternatively, navigate to it through Control Panel > System and Security > Windows Tools > System Information. You can also press the Windows key + R, type “msinfo32”, and press Enter.
-
Locate Motherboard Information: In the System Information window, find “Baseboard Manufacturer” and “Baseboard Product”. The manufacturer indicates the company that made your motherboard, while the product lists the specific model.
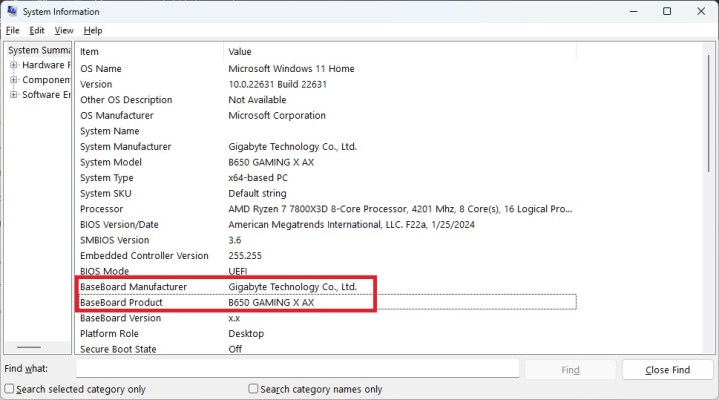 alt text: The Windows System Information window displaying system details, including the baseboard manufacturer and product.
Using Third-Party Software
Dedicated tools like HWiNFO and CPU-Z provide a comprehensive overview of your system hardware, including your motherboard model.
-
Download and Install: Download and install HWiNFO (https://www.hwinfo.com/download/) or CPU-Z (https://www.cpuid.com/softwares/cpu-z.html). Both are free and offer portable versions.
-
Find Motherboard Details: Launch HWiNFO. The System Summary window displays the motherboard manufacturer, model, and chipset. The main HWiNFO window provides detailed information when you click on “Motherboard” in the left-hand pane. CPU-Z offers similar functionality. These tools can also monitor system performance and temperatures.
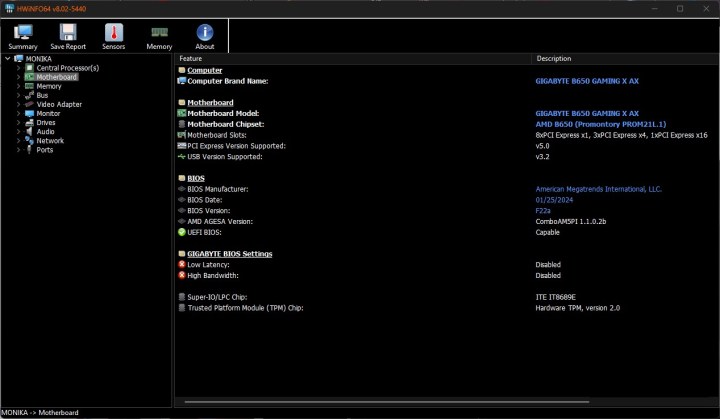 alt text: A screenshot of the HWiNFO software displaying detailed motherboard specifications.
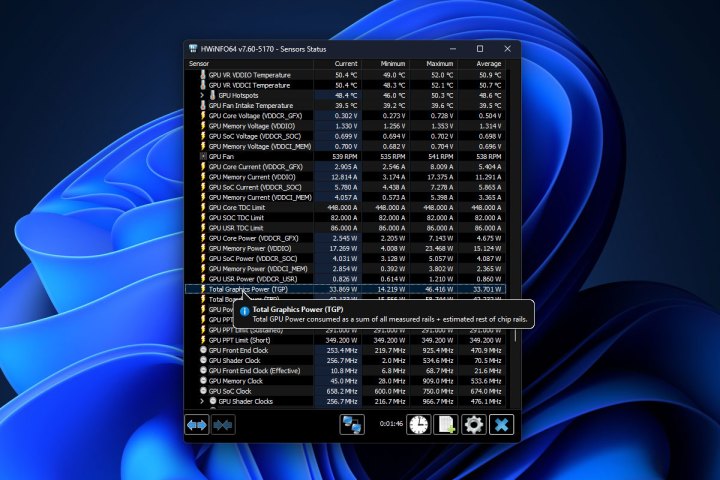 alt text: A screenshot of the HWInfo tool displaying system component statistics.
Using Command Prompt
For a more advanced approach, use the Command Prompt.
-
Open Command Prompt as Administrator: Search for “Command Prompt” in the Windows search bar, right-click, and select “Run as administrator”.
-
Execute Command: Type or paste
wmic baseboard get product,Manufacturerand press Enter. The command prompt will display your motherboard manufacturer and model.
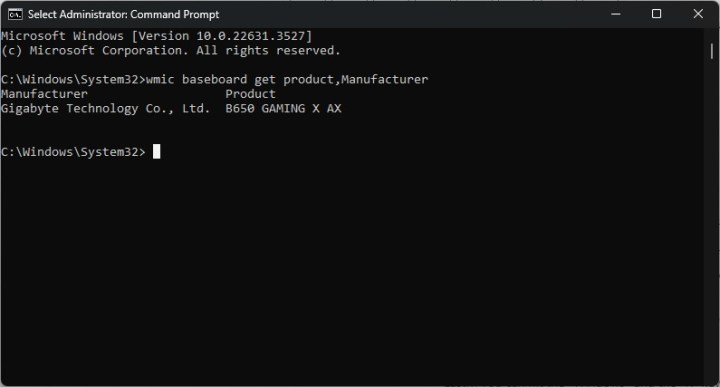 alt text: The Windows command prompt displaying the output of a command used to retrieve motherboard information.
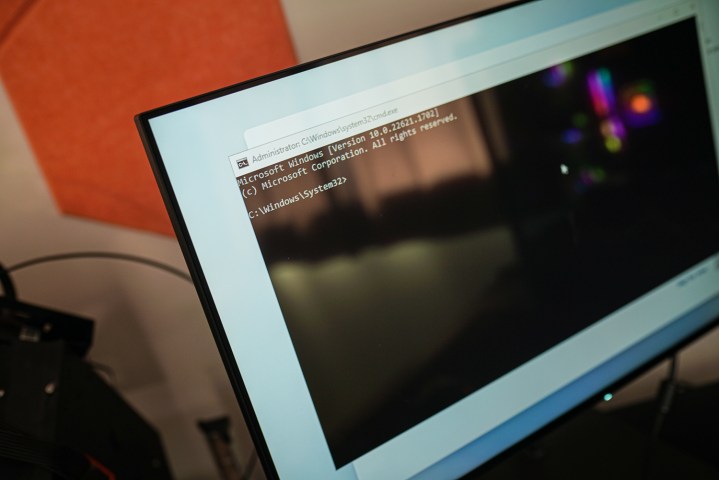 alt text: The command prompt displayed on a screen during a Windows 11 installation process.
Using PowerShell
Similar to Command Prompt, PowerShell can also reveal your motherboard information.
-
Open PowerShell as Administrator: Search for “PowerShell” in the Windows search bar, right-click, and select “Run as administrator”.
-
Execute Command: Paste
Get-WmiObject Win32_BaseBoard | Format-Table –Auto Manufacturer,Product,SerialNumber,Versionand press Enter. PowerShell will display your motherboard details, including the manufacturer and model, along with other information.
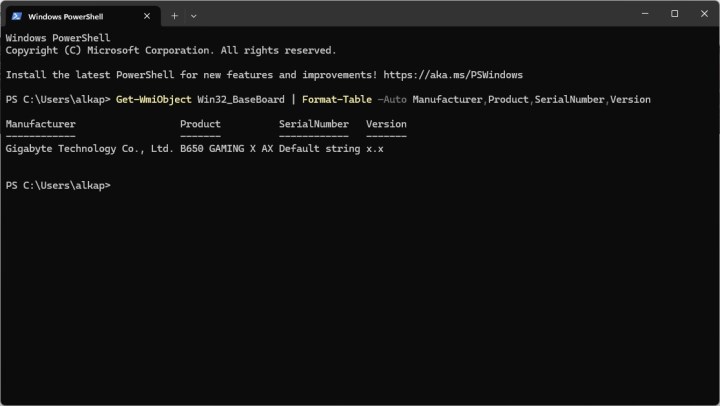 alt text: The Windows PowerShell window showing the output of a command used to retrieve detailed motherboard information.
Checking Physical Documentation and Order History
If the above methods fail, check your PC’s documentation or order history.
-
Check the Box: If you built your PC, the motherboard model should be listed on the original box.
-
Review Order History: Check your order history with the retailer for both prebuilt and custom-built PCs. For prebuilts, find your PC’s model number and search online for its specifications, which should include the motherboard model.
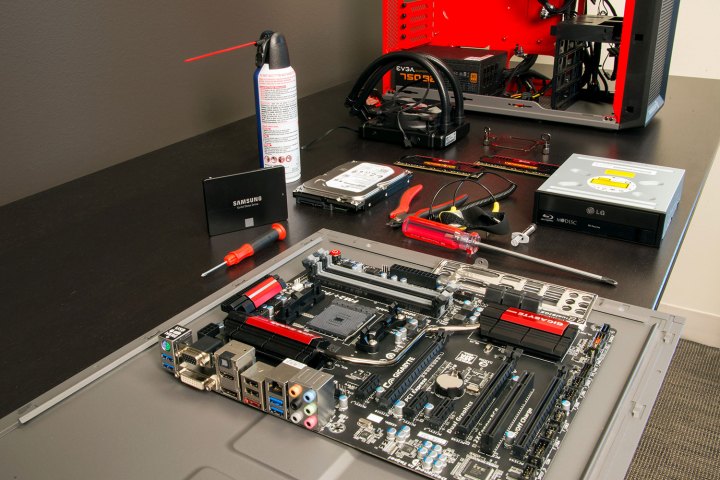 alt text: An image illustrating various components and steps involved in a PC build guide.
Inspecting the Motherboard Directly
As a last resort for desktops (not recommended for laptops), you can physically inspect the motherboard.
-
Check Warranty: Opening your PC case might void your warranty, especially for prebuilt systems. Check your warranty terms before proceeding.
-
Power Down and Ground Yourself: Turn off your PC and unplug the power cord. Ground yourself using an anti-static wrist strap or by touching a metal part of your PC case.
-
Locate Model Number: Remove the side panel of your case. The motherboard model is usually printed on the board itself. You might need to remove components obstructing the view.
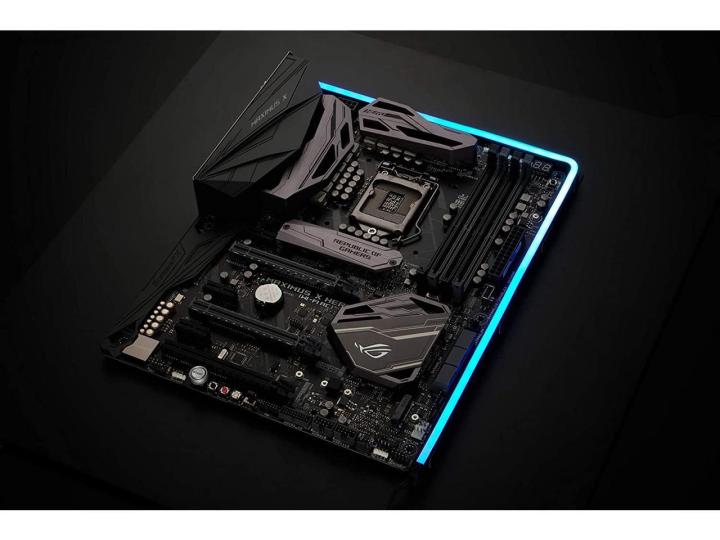 alt text: A close-up view of an Asus motherboard illuminated by a Phanteks NEON LED strip, showcasing its components and design.
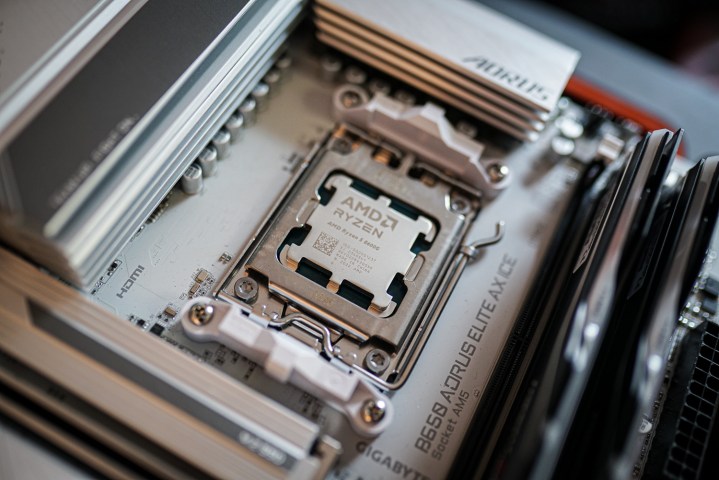 alt text: A close-up view of an AMD Ryzen 5 8600G APU installed in a motherboard socket.
By following these methods, you can easily identify your motherboard model and ensure compatibility for future upgrades and troubleshooting.


