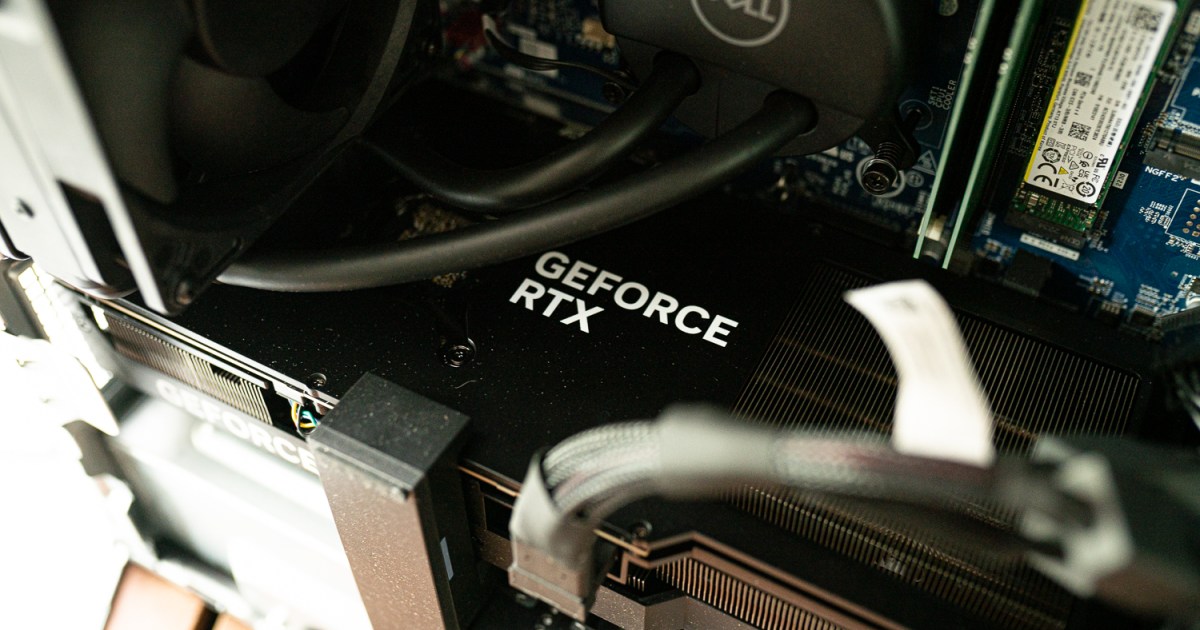
A graphics card, also known as a GPU, is a crucial component of any computer, second only to the CPU. For PC gamers, a powerful GPU is paramount for achieving stunning visuals and smooth frame rates. Fortunately, upgrading or replacing your graphics card is a manageable DIY project with the right guidance and a bit of patience. This comprehensive guide will walk you through the entire process.
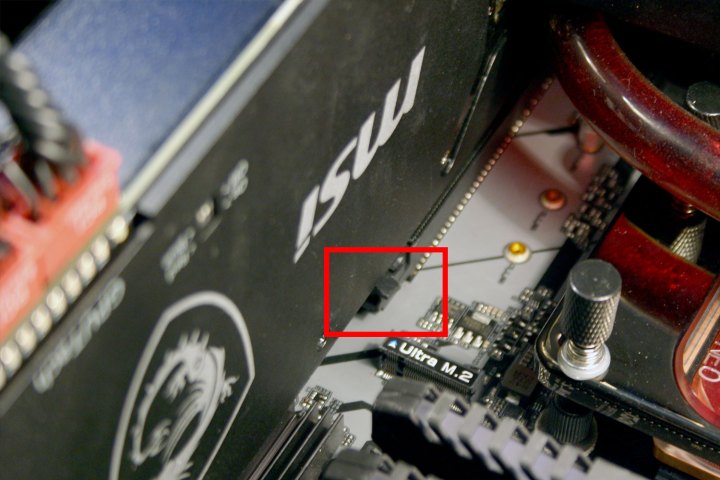 A graphics card being removed from a computer.Carefully removing the old graphics card is the first step.
Preparing for Installation
Before installing your new graphics card, uninstall existing graphics drivers if you’re replacing an older card. In Windows 11, press Windows Key + I to access Settings, select Apps, and search for AMD or Nvidia display drivers. Select the drivers and click Uninstall. Once complete, shut down your PC.
Safety precautions are essential when working with computer components. Always unplug the power cable. An anti-static wristband, a rubber mat, or periodically touching the metal case frame can help prevent electrostatic discharge. Gather a screwdriver and a small container or magnetic tray to keep screws organized.
Removing the Old Graphics Card
If replacing an existing GPU, follow these steps. If performing a fresh installation, skip to the “Removing the PCIe Backplate” section.
-
Disconnect Power Cables: Locate the power cables connected to the graphics card, usually near the end. Press the release clips and gently disconnect the cables.
-
Remove Backplate Screws: Unscrew the screws securing the graphics card to the PCI Express (PCIe) backplate. Use your fingers or a screwdriver, and set the screws aside.
-
Release the PCIe Clip: Most motherboards have a clip securing the graphics card to the PCIe slot. It’s usually located underneath the card at the end of the slot. Identify the mechanism (press or pull) and release the clip.
-
Lift the Card: Carefully lift the card out of the PCIe slot. It might require a gentle wiggle if it’s stuck.
-
Store Safely: Place the removed graphics card on a non-conductive surface or inside an anti-static bag.
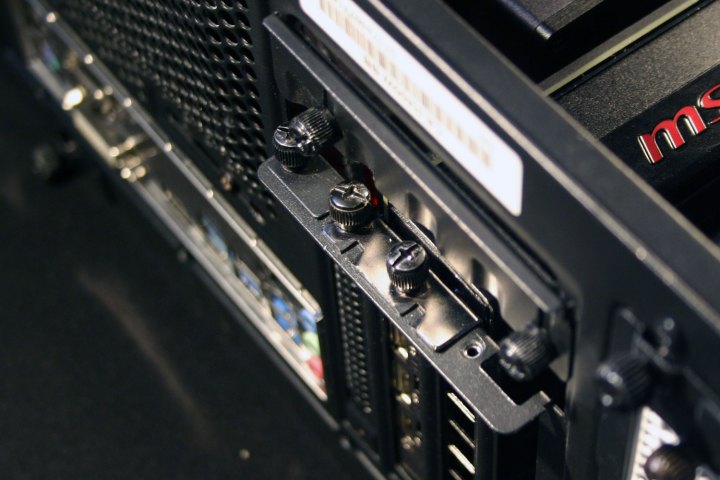 A PCIe backplate inside a computer.The PCIe backplate with screws on the exterior (some cases have them on the interior).
Removing the PCIe Backplate
Before installing the new GPU, ensure adequate space in the PCIe backplate.
-
Check Clearance: Compare the new graphics card’s size with the available space in the PCIe backplate. The PCIe 16x slot (typically the topmost) is the correct slot for most GPUs. Consult your motherboard manual if unsure.
-
Remove Backplates: Remove the necessary number of PCIe backplates to accommodate the new card. Store the removed backplates safely. Some cases have pop-out backplates; if so, gently wiggle the plate back and forth to remove it.
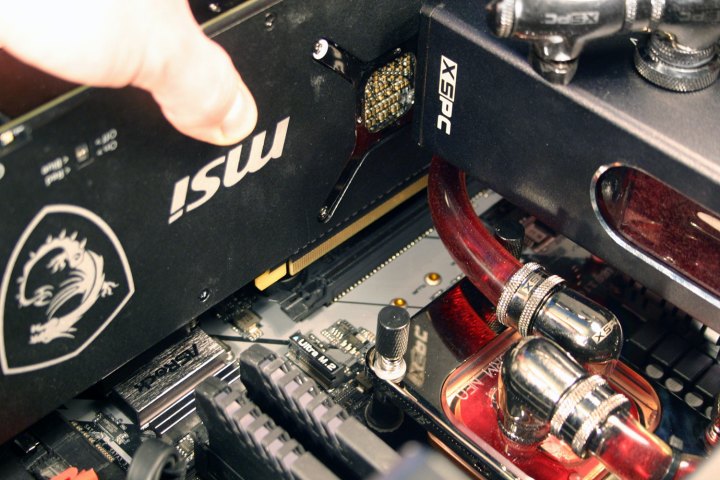 A graphics card being added to a computer.Carefully inserting the new graphics card into the PCIe slot.
Installing the New Graphics Card
-
Insert the Card: Carefully insert the new graphics card into the PCIe 16x slot, ensuring the I/O plate aligns with the backplate opening. Make sure the PCIe clip is open.
-
Apply Gentle Pressure: Use the palm of your hand to apply firm but gentle pressure directly above the PCIe slot. Wrap your fingers around the cooler for support.
-
Listen for the Click: You might hear a click indicating the card is securely seated. However, this isn’t always the case.
-
Secure with Screws: Once the card is seated, secure it to the backplate using the screws removed earlier.
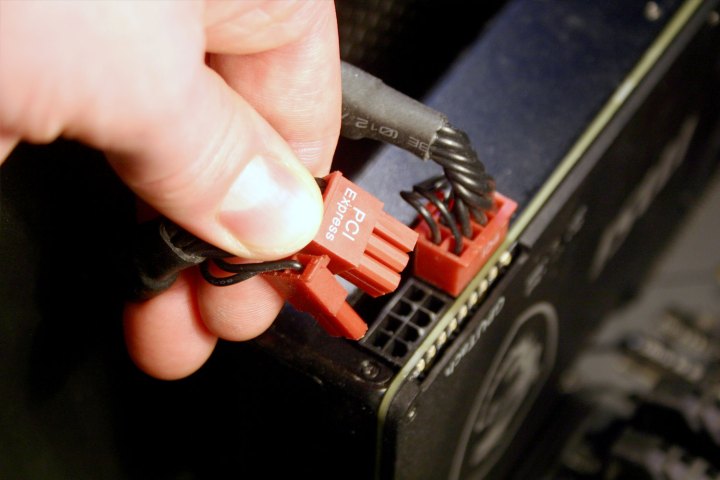 Power cables being attached to a GPU.Connecting the power cables to the GPU.
Attaching Power Cables
-
Identify Correct Cables: Locate the correct PCIe power connectors (6-pin, 8-pin, or 12-pin) required for your graphics card. Using the wrong cable can damage components.
-
Connect the Cables: Connect the power cables to the corresponding slots on the graphics card. Ensure the clips snap into place. For 8-pin connectors using 6+2 cables, align the 2-pin tab with the 6-pin connector before attaching.
-
Check Connection: Gently tug on the cables to ensure they are firmly connected.
Testing and Driver Installation
-
Initial Test: Connect the power cable, monitor cable, keyboard, and mouse. Power on the PC to check for video output.
-
Troubleshooting: If no video output, double-check power cables, monitor connection, and reseat the graphics card. Resetting the CMOS/BIOS might also help. Ensure your PSU meets the new GPU’s power requirements.
-
Install Drivers: Once the system boots, uninstall old drivers and install the latest drivers for your new graphics card from the manufacturer’s website (Nvidia or AMD). Reboot after installation.
Conclusion
Installing a graphics card is a relatively straightforward process. By following these steps and taking necessary precautions, you can successfully upgrade your PC’s graphics capabilities. Remember to consult your motherboard and graphics card manuals for specific instructions and troubleshooting tips.


