Character.AI, a sophisticated text-to-speech chatbot platform, offers a rich communication experience with a diverse cast of characters, from historical figures to fictional favorites. Beyond text-based interactions, Character.AI allows users to enable voice responses, enhancing accessibility and immersion. This guide explores how to enable voice on existing characters, create custom voices, and integrate them into your own creations.
 Enable Character.AI voice on a third-party character.
Enabling Voice on Existing Characters
Enabling the voice feature allows you to hear a character’s responses, adding a new dimension to your conversations. Let’s say you’re chatting with a Super Mario character; enabling voice can bring the iconic plumber to life.
Method 1: Using the Sound Icon
The quickest way to enable voice is by clicking the sound icon (represented by sound waves with a slash) within the chat window. This will instantly activate the voice feature, turning the icon blue and displaying a brief “voice-enabled” notification.
Method 2: Using the Menu
Alternatively, you can access the voice option through the three-dot menu located beside the sound icon. Hovering over the sound icon in the dropdown menu will reveal the “Turn sound on” option. Click it to enable voice.
 Create a custom Character.AI voice.
Creating a Custom Voice
Character.AI allows you to personalize your experience further by creating custom voices for your characters. This involves uploading a short audio clip (10-15 seconds) which the platform uses to train its voice generation algorithm. The resulting voice, typically trimmed to around three seconds, will be refined and optimized for character responses.
Uploading and Generating
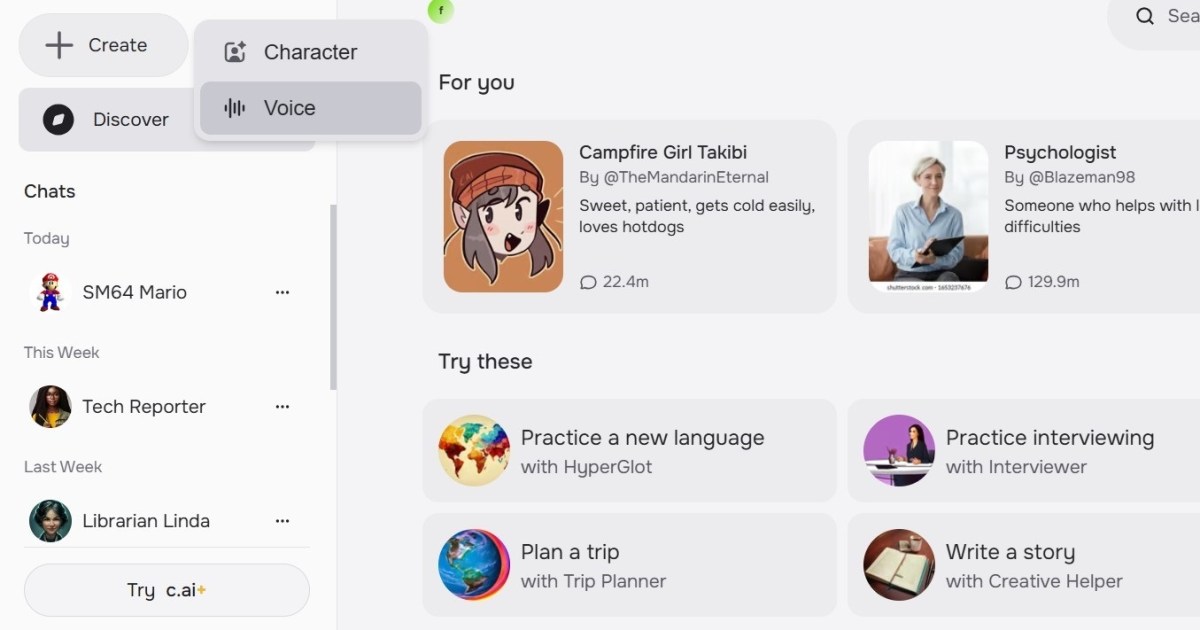
- Navigate to the “Create” tab on the Character.AI homepage and select “Voice.”
- On the “Create Voice” page, either drag and drop your audio clip or use the “Upload” button to select the file from your computer.
- Preview the uploaded audio and re-upload if necessary. Once satisfied, click “Generate Voice.”
Configuring Voice Settings
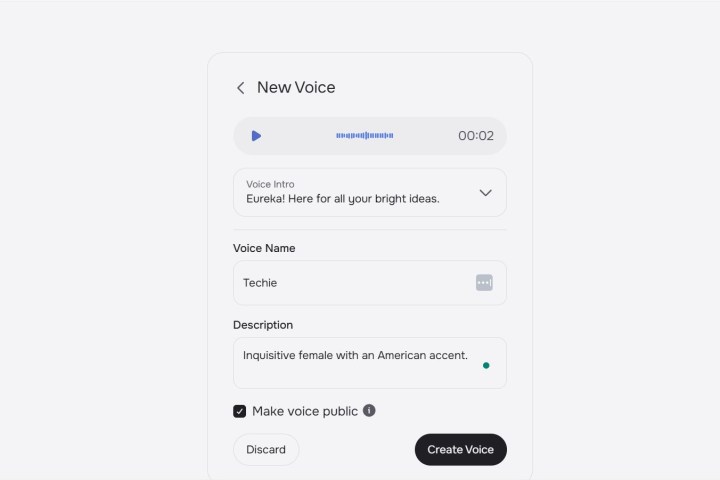
- The “New Voice” settings page allows you to customize the voice details. Provide an intro, voice name, and description.
- You can also choose to make your voice public, allowing other users in the Character.AI community to utilize it for their characters. A confirmation prompt will appear if you select this option.
- Click “Confirm” to make your voice public and then “Done.” The voice will then appear in the voices section of your public profile.
Deleting a Voice
To delete a custom voice, select it from your public profile, click “Edit,” and then “Delete.”
 Add a voice to a new Character.AI character.
Adding a Voice to a New Character
Assigning a voice is an integral part of character creation in Character.AI.
Character Creation Process
- From the Character.AI home tab, click “Create” and then “Character.”
- Fill in the necessary character details, including name, tagline, description, greeting, and definition.
Adding the Voice
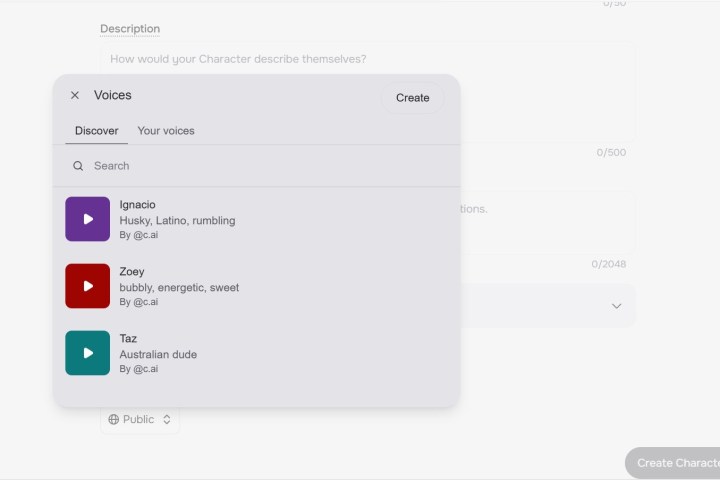
- In the “Voice” section, click “Add.” A pop-up box will appear displaying available voice options.
- Browse or search for voices in the “Discover” tab, or switch to the “Your Voices” tab to select from your custom creations.
- Hover over your desired voice and click “Select.”
Finalizing the Character
- Complete the remaining character settings and click “Create Character.”
- Once your character is live, you can interact with it and enable voice just like any other character on the platform, allowing you to hear your custom voice in action.


