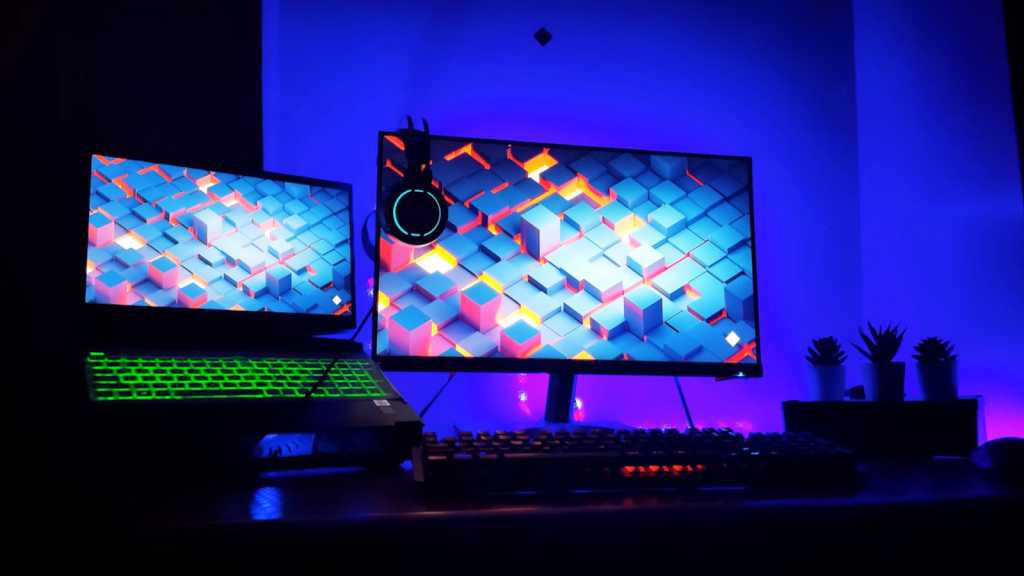
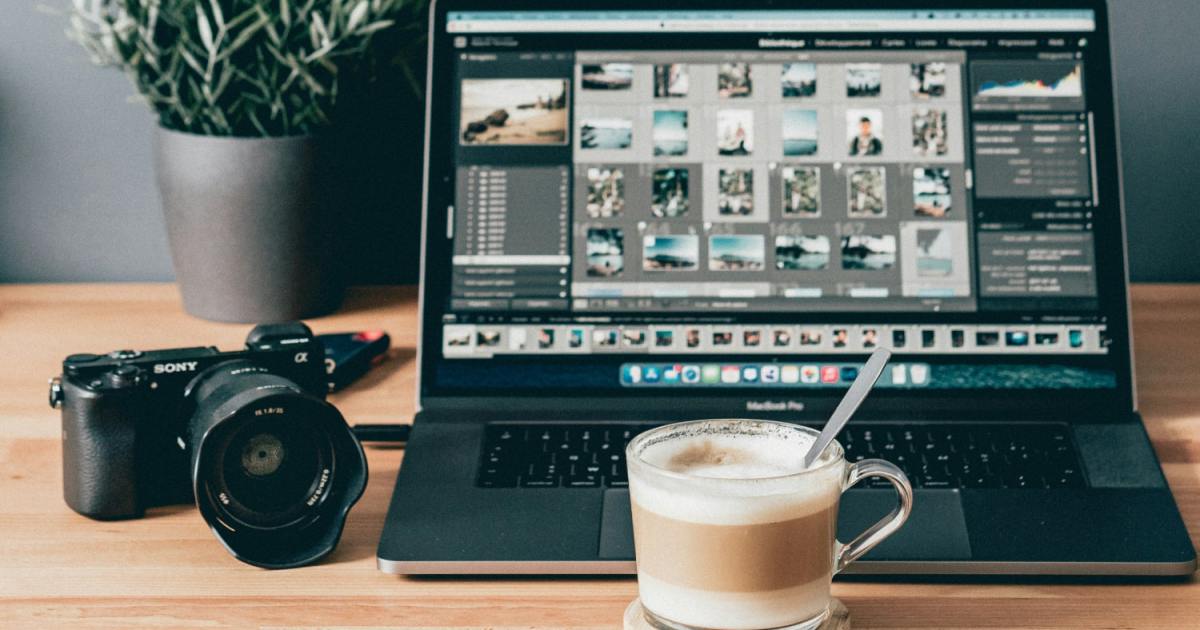
Modern gaming laptops are marvels of engineering, packing powerful components into increasingly slim designs. But even the largest 18-inch laptop displays can’t compete with the expansive screen real estate of a desktop monitor. Fortunately, you can enjoy the best of both worlds by connecting an external monitor to your gaming laptop. This guide will walk you through the process, from choosing the right cables to optimizing your settings for the ultimate gaming experience.
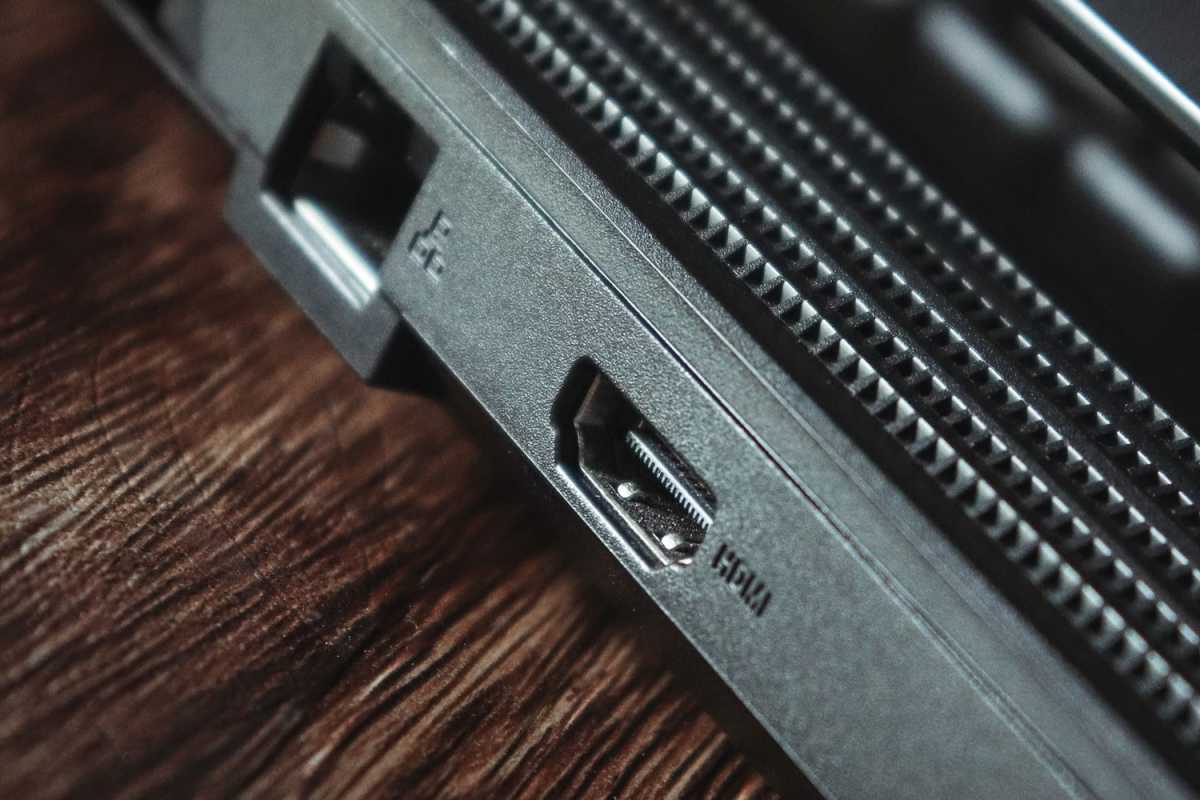 Laptop with HDMI and Ethernet portsConnecting your gaming laptop to an external monitor via HDMI is a common and effective setup.
Choosing the Right Connection
Connecting an external monitor to your gaming laptop is straightforward, but selecting the optimal connection is crucial. The two most common and recommended options are:
- HDMI: Widely supported by both laptops and monitors, HDMI offers a reliable connection for high-resolution gaming.
- USB-C: Increasingly prevalent in modern devices, USB-C can transmit both video and power, streamlining your setup. Some USB-C ports also support Thunderbolt, offering even greater bandwidth.
While HDMI is more common in monitors, prioritize USB-C if your monitor supports it. However, the specific generation of HDMI or USB-C port on your laptop and the cable you use significantly impact performance. For example, HDMI 1.4 can handle 1080p but not 4K at 120Hz, while older USB-C connections may not support high-resolution displays. Consult your laptop’s manual or the manufacturer’s website to determine the generations of your ports and choose a cable that matches the highest supported generation. Using a lower-generation cable will limit the performance to the lower standard, even if connected to a higher-generation port.
Troubleshooting Connection Issues
In most cases, plugging in your external monitor should automatically trigger detection. Ensure both your laptop and monitor are powered on, and the monitor is set to the correct input source. If the monitor isn’t detected:
- Open Windows Settings, navigate to System > Display > Multiple displays, and click Detect.
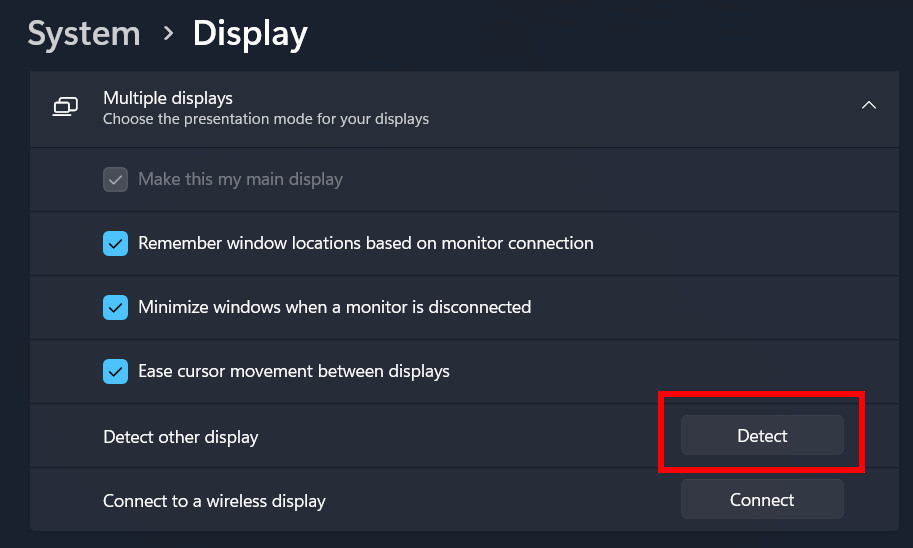 Windows 11 Display Settings – Detect MonitorUsing the “Detect” function in Windows Display Settings can help resolve connection issues.
-
Try unplugging and re-plugging the connecting cable on both ends.
-
Verify the monitor is set to the correct HDMI or USB-C input. Consult your monitor’s manual for instructions.
-
Test different ports on both your laptop and monitor. A faulty port can sometimes be the culprit.
-
If all else fails, try a different cable. An old, damaged, or incorrect cable can prevent detection.
Optimizing Your External Monitor Settings
Once connected, your external monitor likely defaults to duplicating your laptop screen. For extended screen space:
- Go to System > Display in Windows Settings.
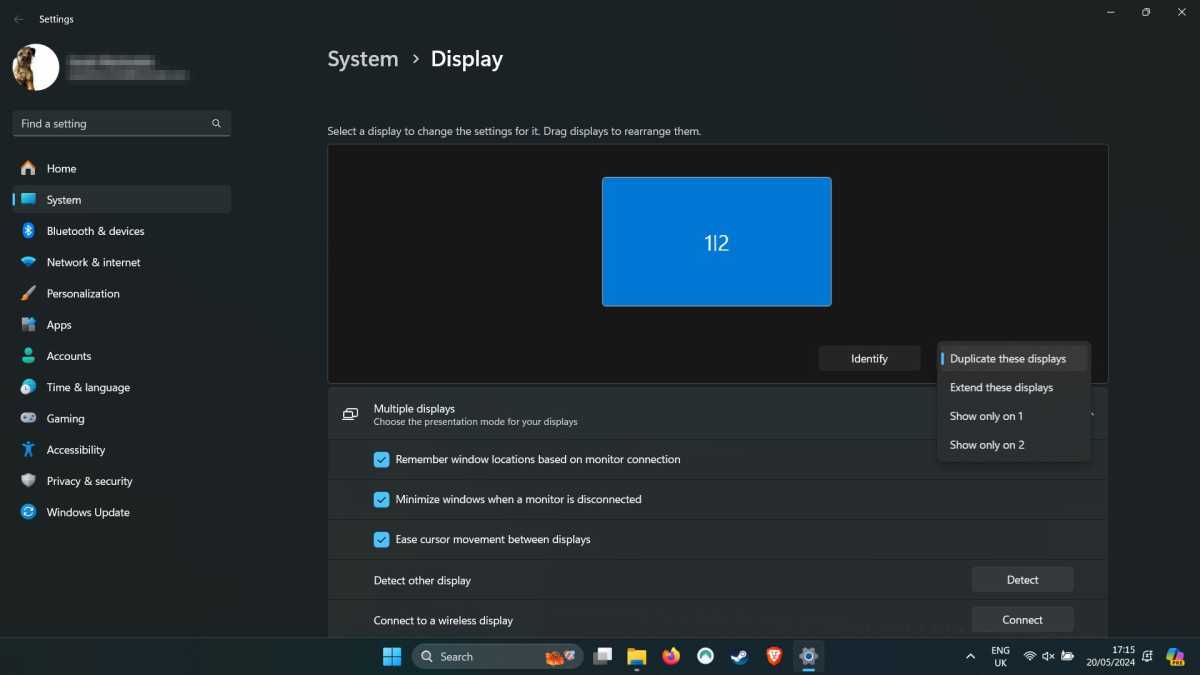 Windows 11 System Display Settings – Duplicate DisplaysExtending your display across multiple monitors provides more screen real estate for gaming and productivity.
-
Change the Duplicate these displays dropdown to Extend these displays.
-
Select your preferred main display by checking Make this my main display under Multiple displays.
-
Fine-tune resolution and refresh rate:
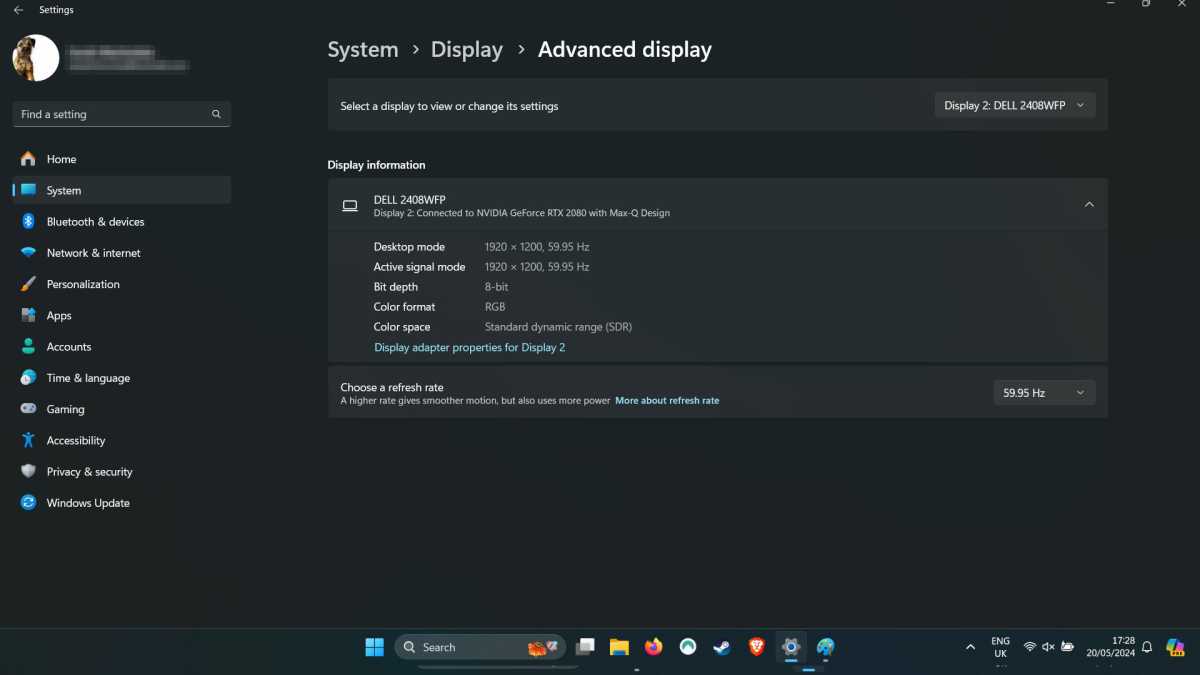 Windows 11 System Display Settings – AdvancedOptimizing display settings like resolution and refresh rate enhances the gaming experience.
* Set the **Display resolution** to your monitor's native resolution.
* Enable **HDR** if your monitor supports it.
* Under **Advanced display**, select the highest desired refresh rate.
Conclusion
Connecting an external monitor to your gaming laptop significantly enhances your gaming experience, providing a larger display and improved visuals. By following these steps, you can seamlessly integrate an external monitor into your setup and optimize its settings for peak performance. Remember to choose the appropriate cables and troubleshoot any connection issues systematically. With a properly configured external monitor, you can enjoy immersive gaming and elevate your productivity.


