Microsoft Word, the ubiquitous word processor, boasts a wealth of features for crafting professional documents. Among these, the ability to insert lines might seem simple, yet it offers surprisingly diverse applications, from creating dividers to signing documents. This guide provides a detailed walkthrough of several methods for inserting lines in Word, empowering you to choose the best approach for your specific needs.
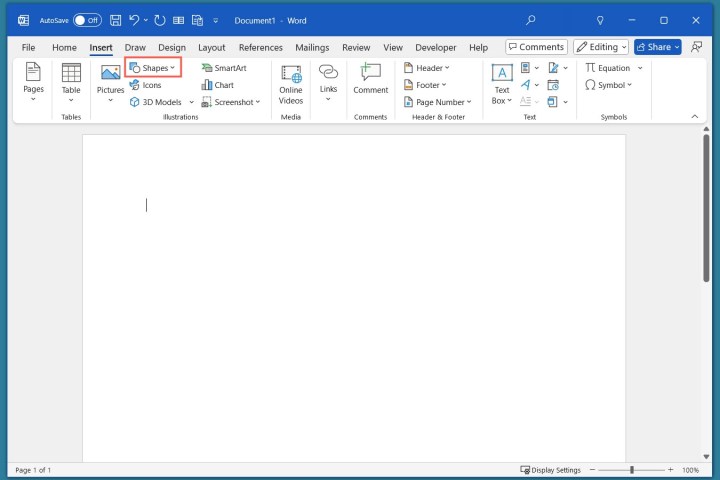 Shapes on the Insert tab in Word.
Drawing Precise Lines with the Shapes Tool
For lines of specific lengths and styles, the Shapes tool is your go-to option.
- Open your document: Launch your Word document or create a new one.
- Navigate to Shapes: Click the “Insert” tab and select “Shapes.”
- Select Line Style: In the “Lines” section, choose your desired line style.
- Draw your line: Click and drag your mouse cursor from the starting point to the endpoint of your line. Release the mouse button to finalize the line.
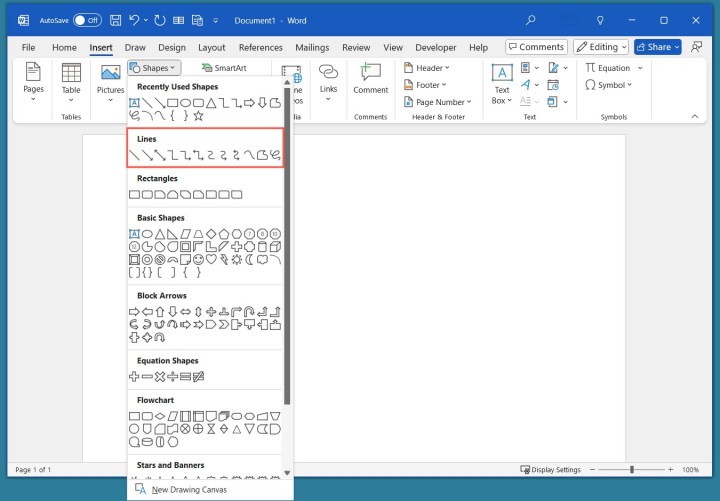 Lines in the Shapes menu in Word.
Inserting Lines with Keyboard AutoFormat: A Quick Approach
For those who prefer keyboard shortcuts, AutoFormat offers a speedy way to insert lines.
- Position your cursor: Place your cursor where you want the line to appear.
- Type and press Enter: Type three hyphens (
---) and press the “Enter” key. A horizontal line will span the page width (excluding margins). To add text above the line, simply move your cursor there. - Explore other line styles: Experiment with other characters to generate different line styles:
***(asterisks) creates a dotted line.___(underscores) creates a bold line.###(number signs) creates a triple line (one bold, two thin).~~~(tildes) creates a wavy line. (Note: For these styles, hold “Shift” while typing the character.)
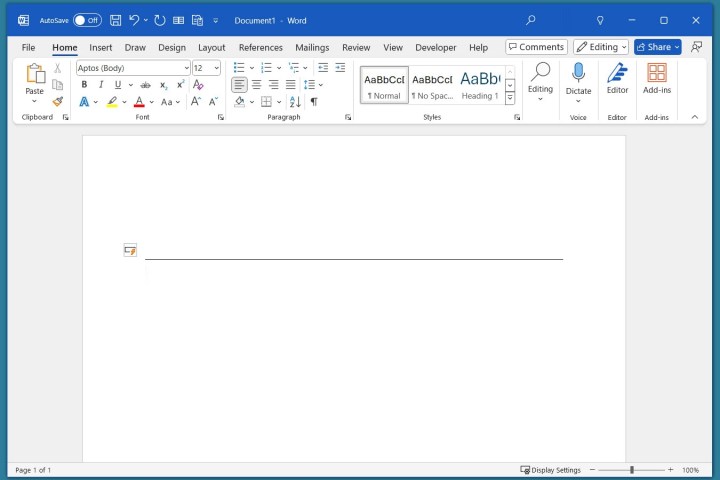 AutoFormat line in Word
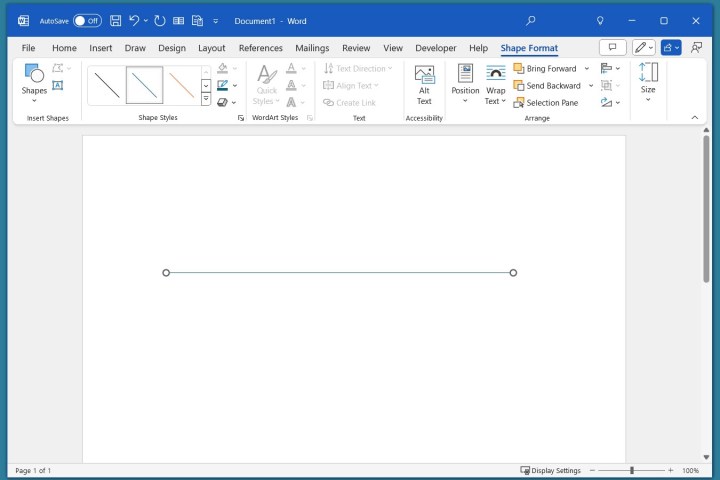 Drawn line in Word.
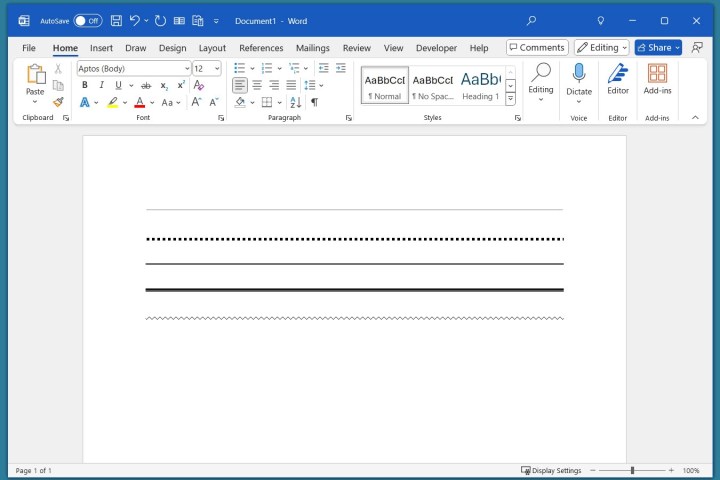 AutoFormat lines in Word
Creating Horizontal Lines with the Borders Menu: Simplicity at its Best
For a clean horizontal line spanning the page margins, the Borders menu is the easiest solution.
- Place your cursor: Position your cursor where you want the line.
- Select Horizontal Line: Go to the “Home” tab, open the “Borders” menu, and choose “Horizontal Line.”
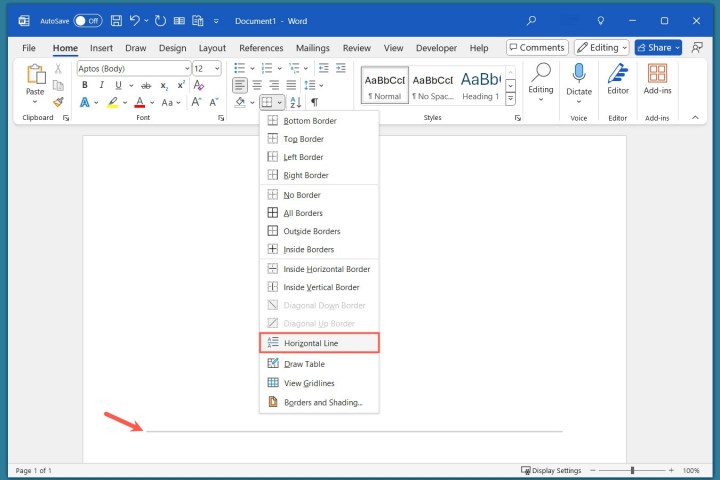 Horizontal Line in the Word Borders menu
Frequently Asked Questions
How do you add strikethrough to text?
Select the text, go to the “Home” tab, and click the “Strikethrough” button in the “Font” section.
How do you put a border around text?
Select the text, navigate to the “Home” tab, open the “Borders” menu, and select “Outside Borders.”
How do you insert a horizontal line in Google Docs?
In Google Docs, place your cursor, go to the “Insert” tab, and choose “Horizontal line.”
This guide has equipped you with multiple techniques for inserting lines in Microsoft Word. Whether you need precise control, quick insertion, or a simple page-wide line, you now have the knowledge to enhance your document formatting with ease.


