Microsoft 365 offers a suite of powerful applications, and among them, Microsoft Lists stands out for its versatility in organizing and managing information. More than just a simple to-do list, Lists empowers users to track and prioritize various tasks, from personal errands to complex business projects. This guide provides a step-by-step walkthrough of accessing and utilizing Microsoft Lists.
Accessing Microsoft Lists
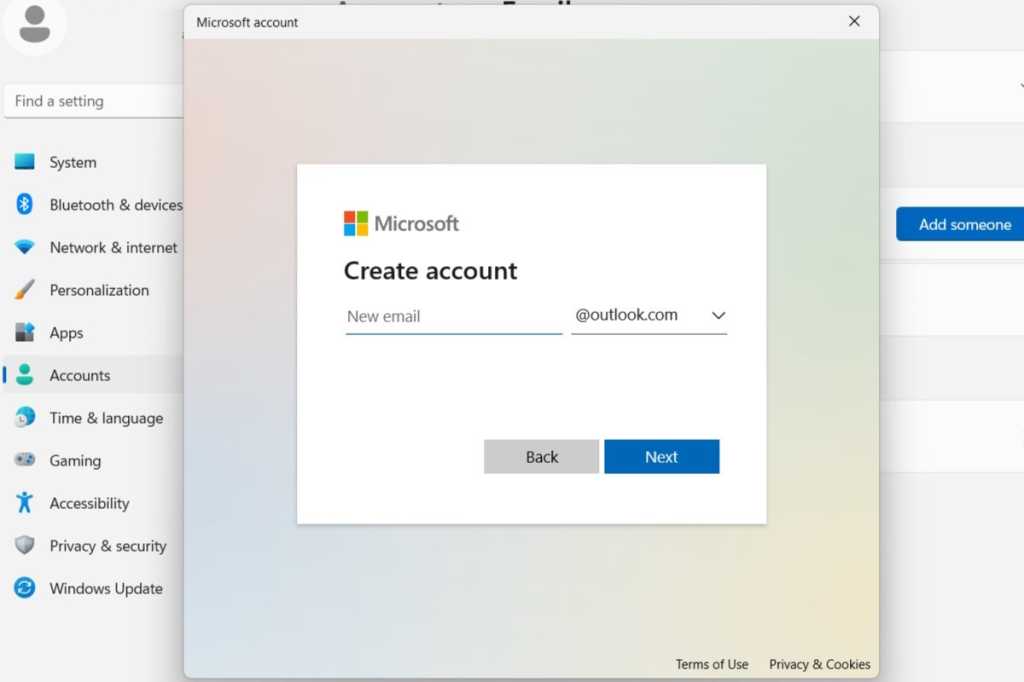
Begin by opening Microsoft 365. You can either click the Microsoft 365 icon or search for it on your computer.
 Microsoft 365 app launcher
Once inside Microsoft 365, navigate to the “Apps” section in the left-hand menu.
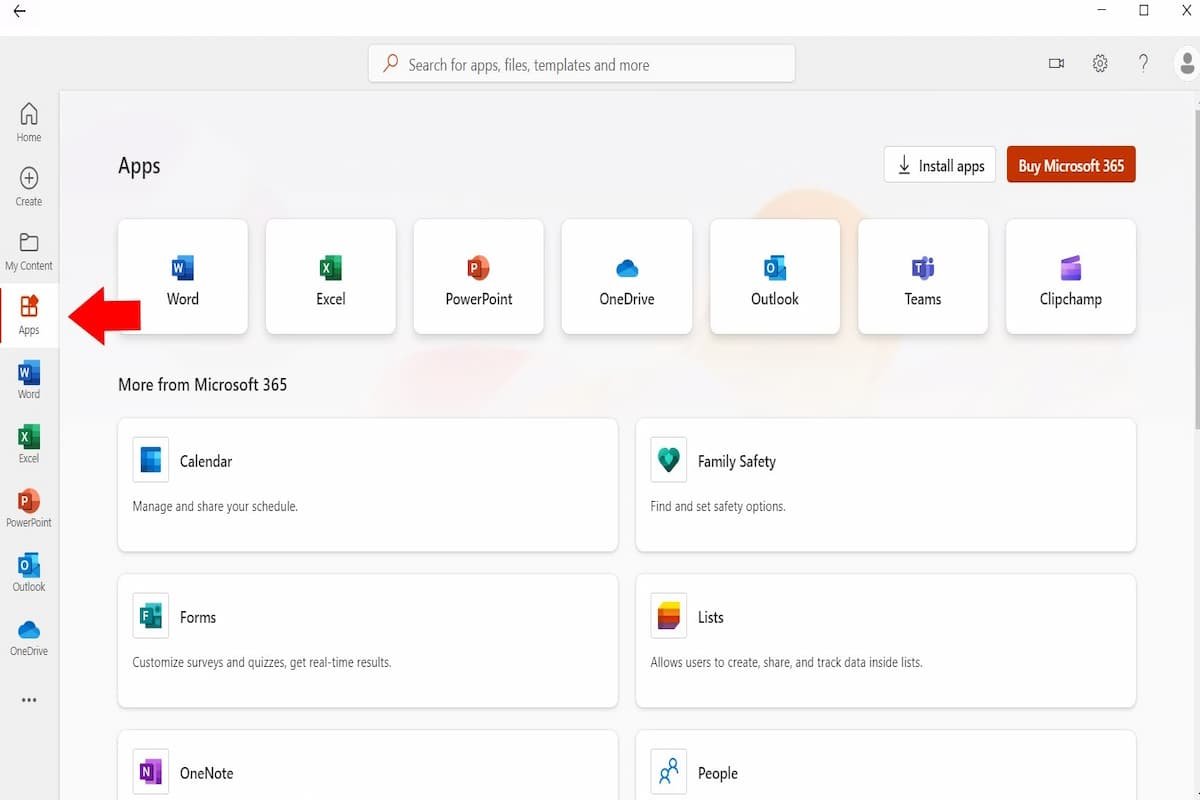 Selecting the Apps option within Microsoft 365
Locate and click “Lists” within the app options. This will open Microsoft Lists in a new web browser window.
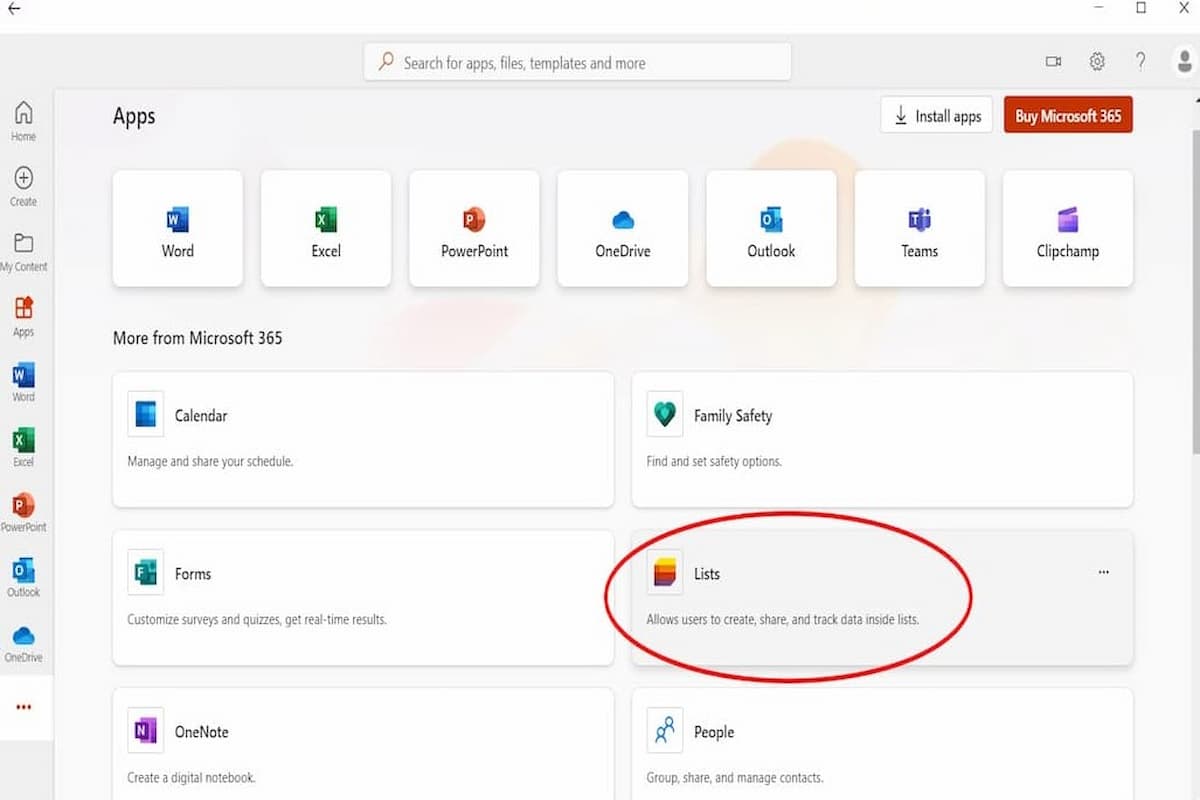 Clicking the Lists app icon
Creating a New List
Once inside the Lists portal, click the prominent purple “New List” button at the top of the page.
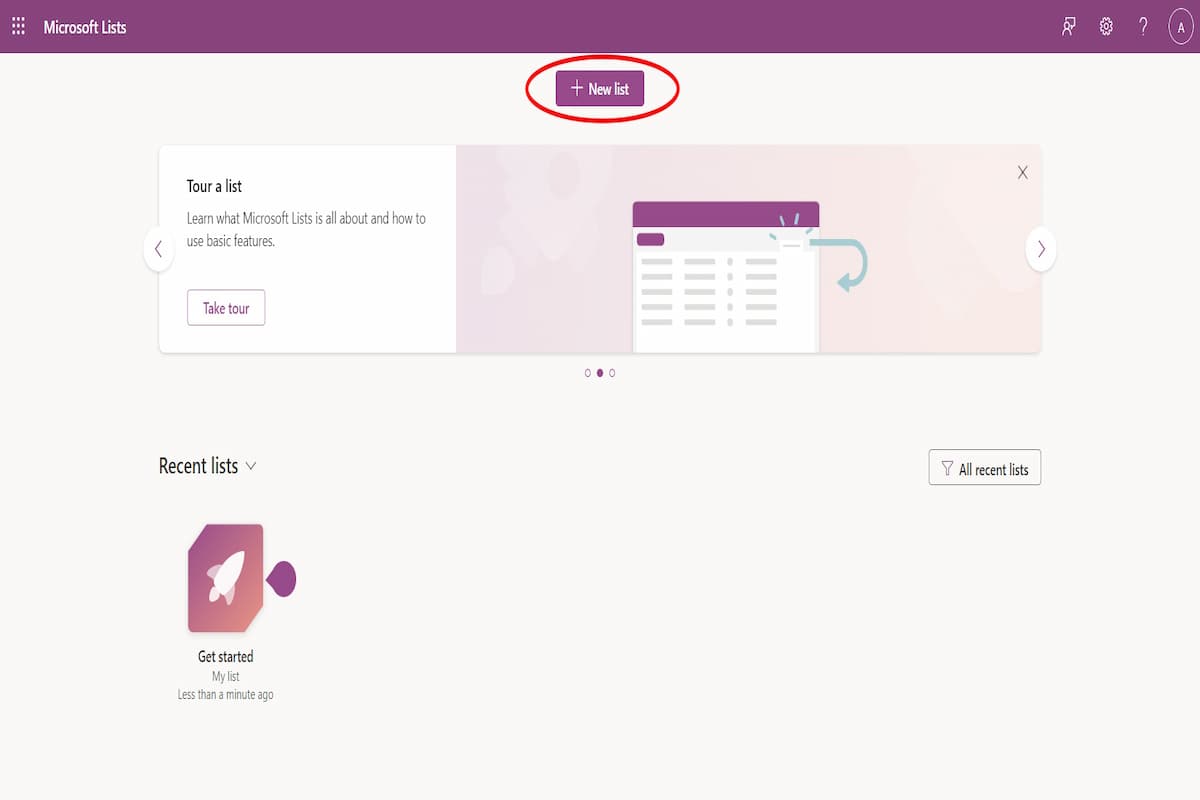 Clicking the New List button to create a new list
A dialog box will appear, offering options to create a list from scratch, import an existing list, or utilize a pre-designed template.
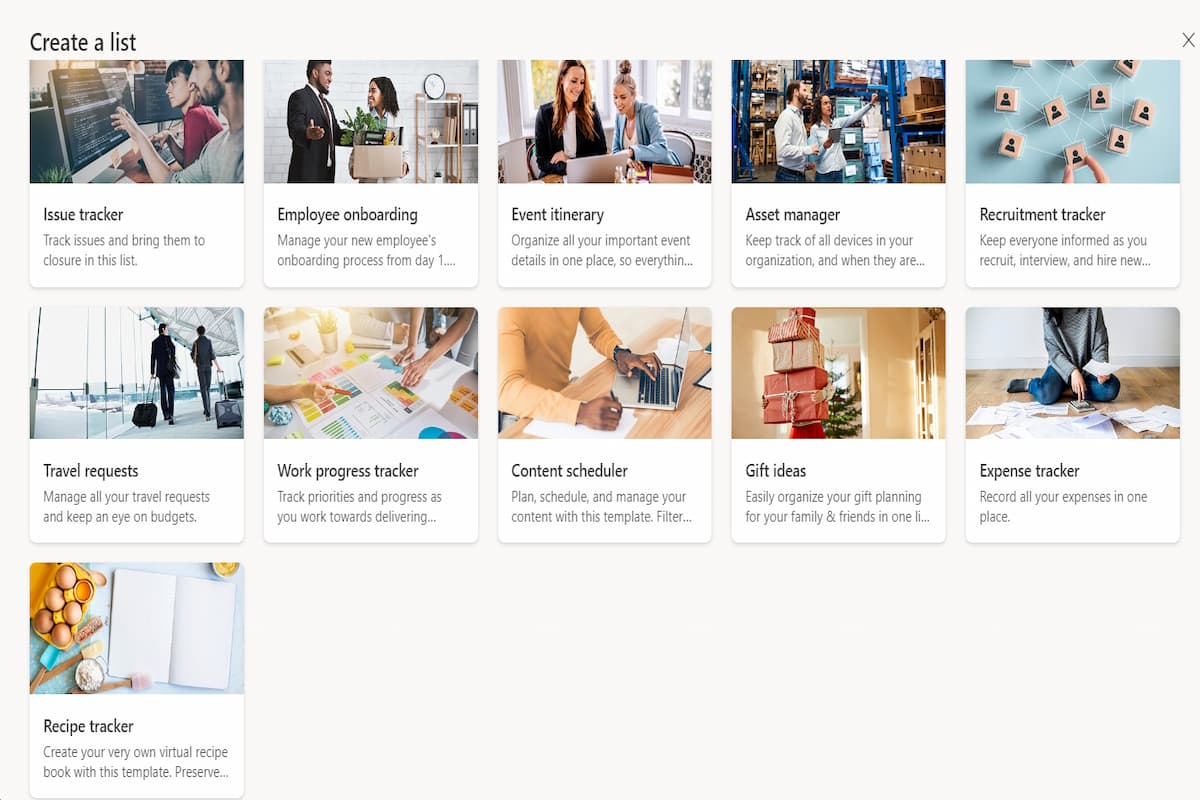
 Options for creating a new list: blank, from existing list, or from template
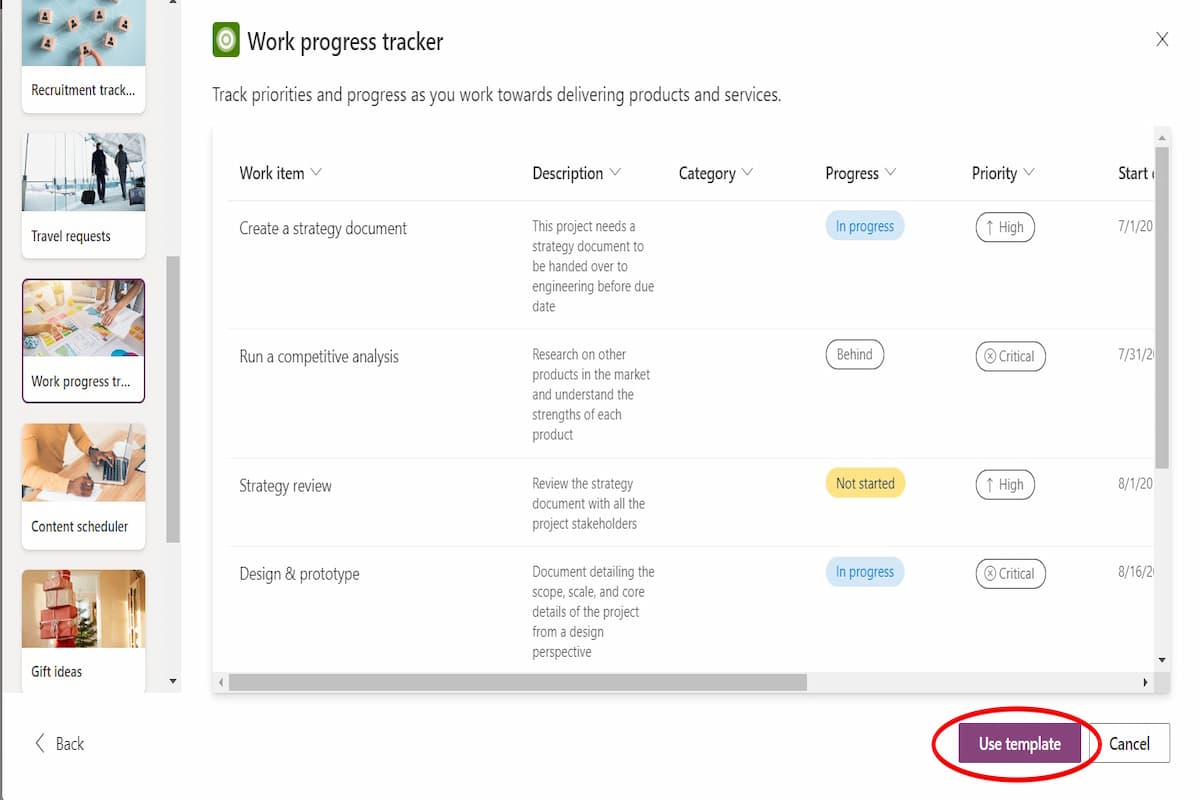
Microsoft provides a variety of templates for common scenarios, such as issue tracking or event planning. Selecting a template provides a preview of its structure. Click “Use Template” to apply the selected template.
 Previewing and using a Microsoft List template
Customizing Your List
Add columns to your list by selecting the “Columns” tab at the top. Choose from various column types, including text, choice, date and time, multiple lines of text, person, number, yes/no, hyperlink, image, and lookup.
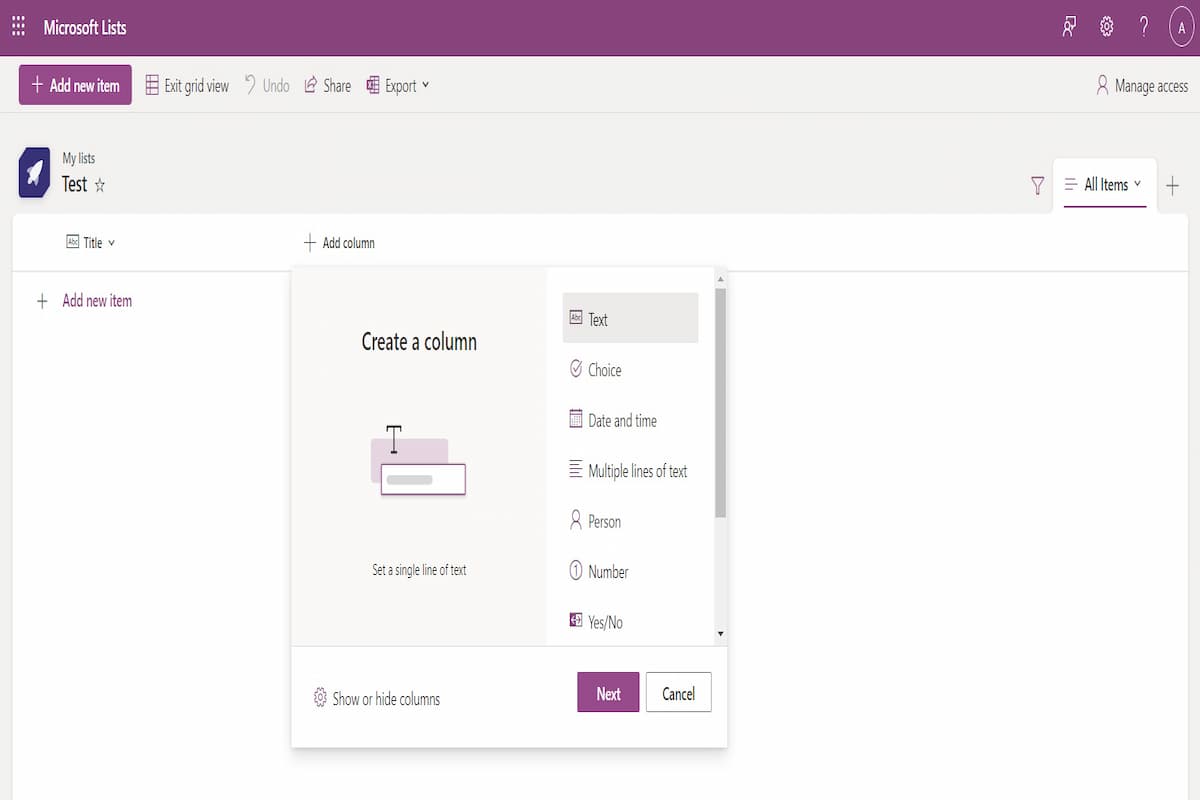 Adding columns to a Microsoft List
Modify the list view by clicking the plus button next to the “All Items” tab in the top right corner. Choose from four view options: List, Grid, Gallery, and Calendar, to optimize how your data is displayed.
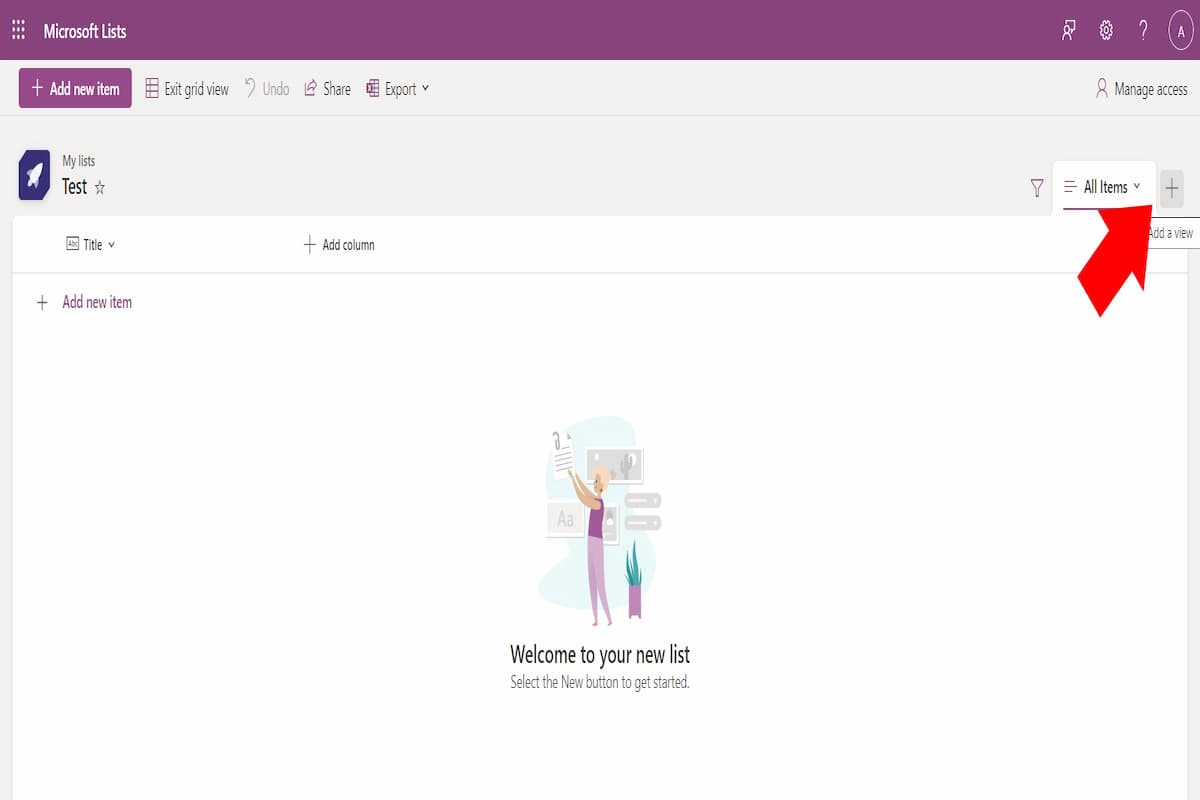 Changing the view of a Microsoft List
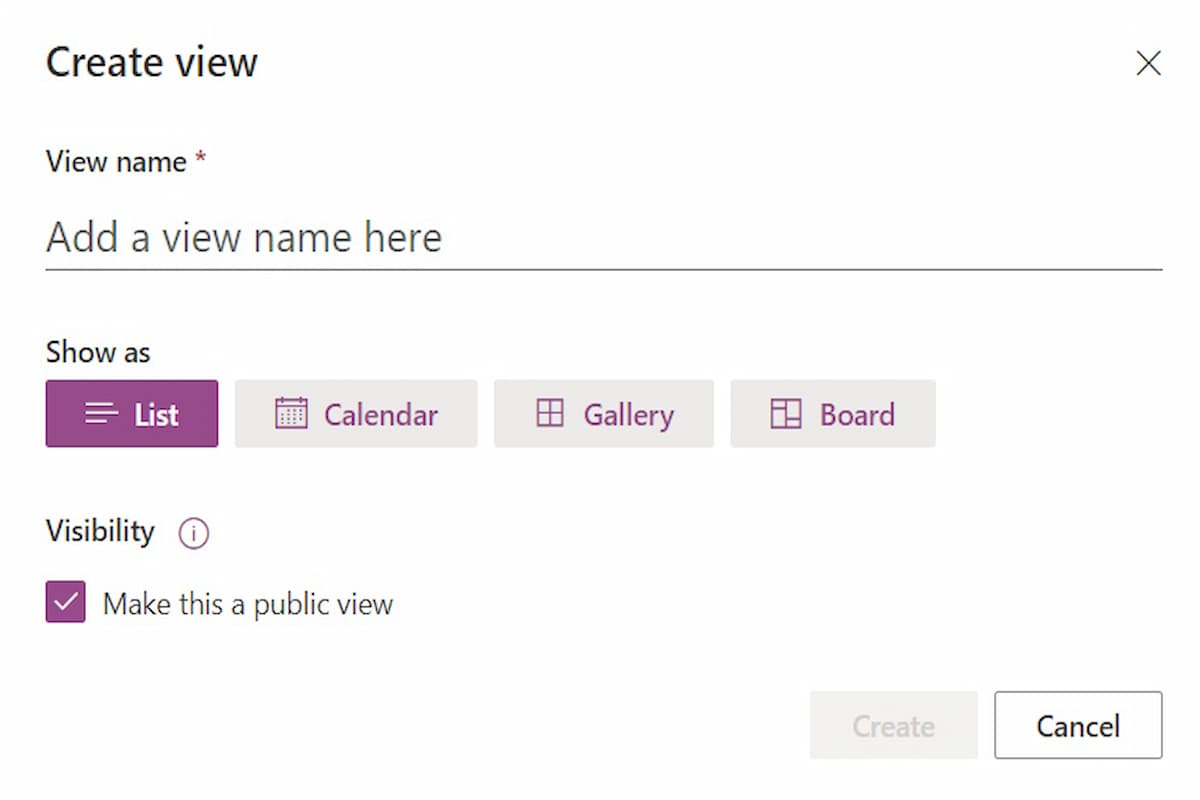 Different view options for a Microsoft List
In the traditional List view, sort your data by clicking the “Title” tab in the top left corner and selecting a sorting option.
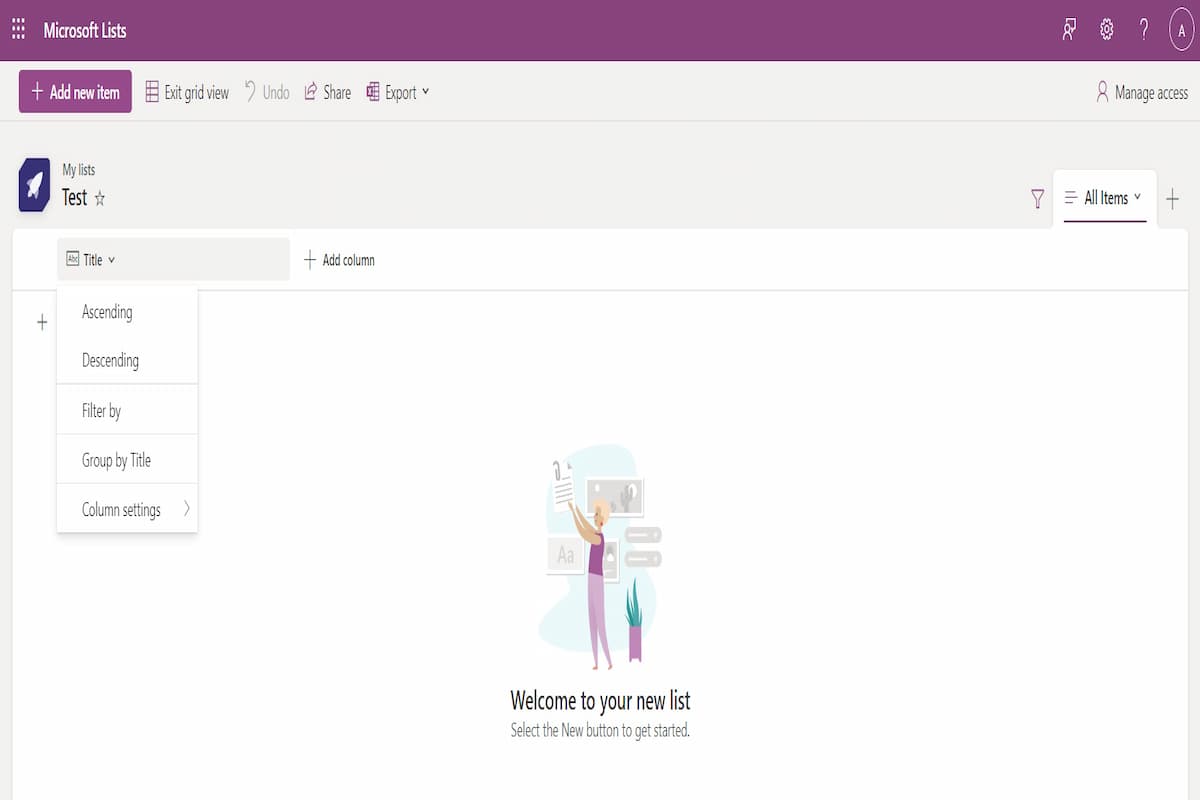 Sorting options within a Microsoft List
Sharing Your List
Share your list with colleagues, family, or others by clicking the “Manage access” button in the top right.
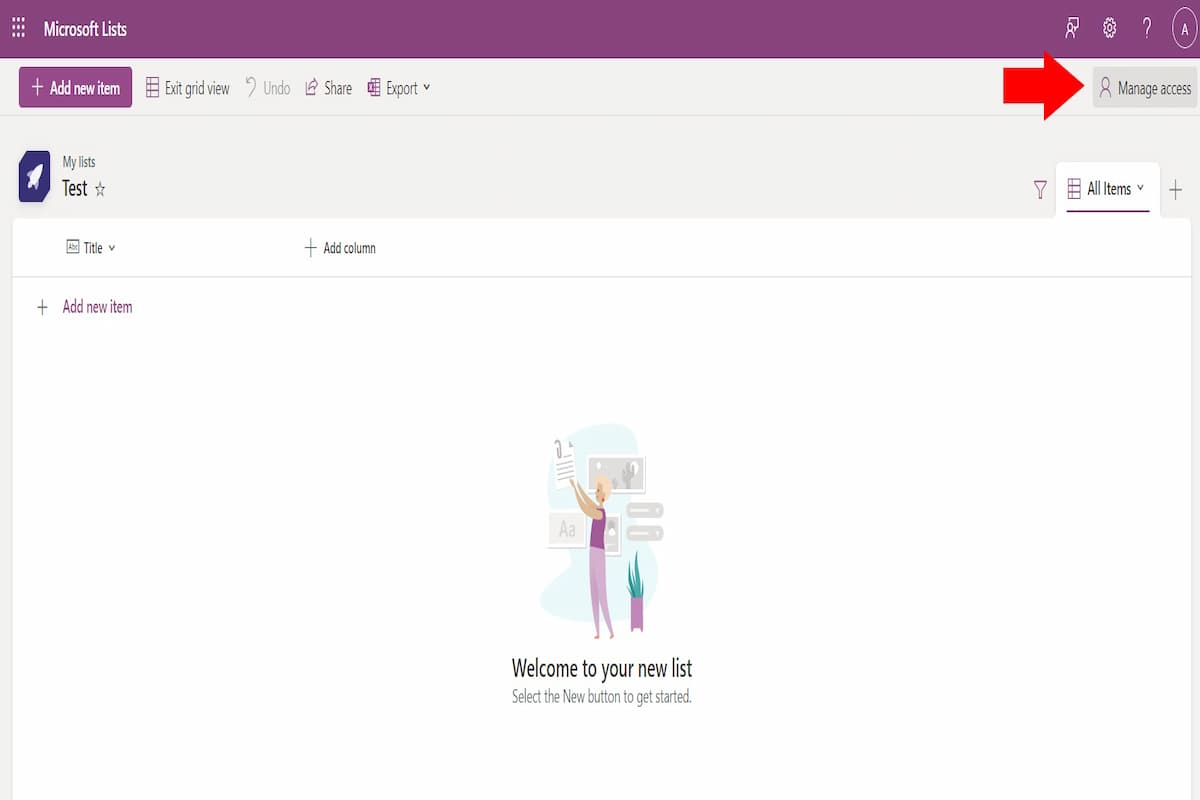 Managing access and sharing a Microsoft List
Click the “Share” button within the manage access window.
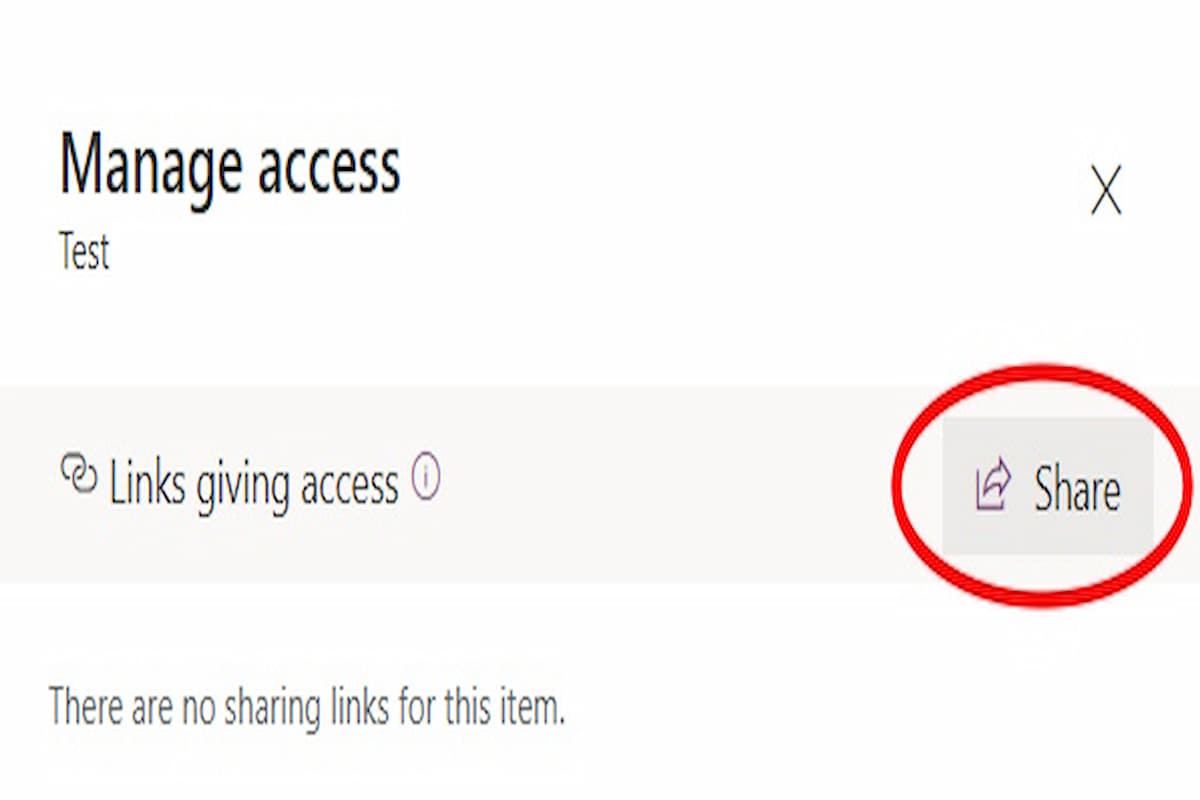 Sharing options for a Microsoft List
Enter the names or email addresses of individuals you wish to share with, or copy the provided link for broader access.
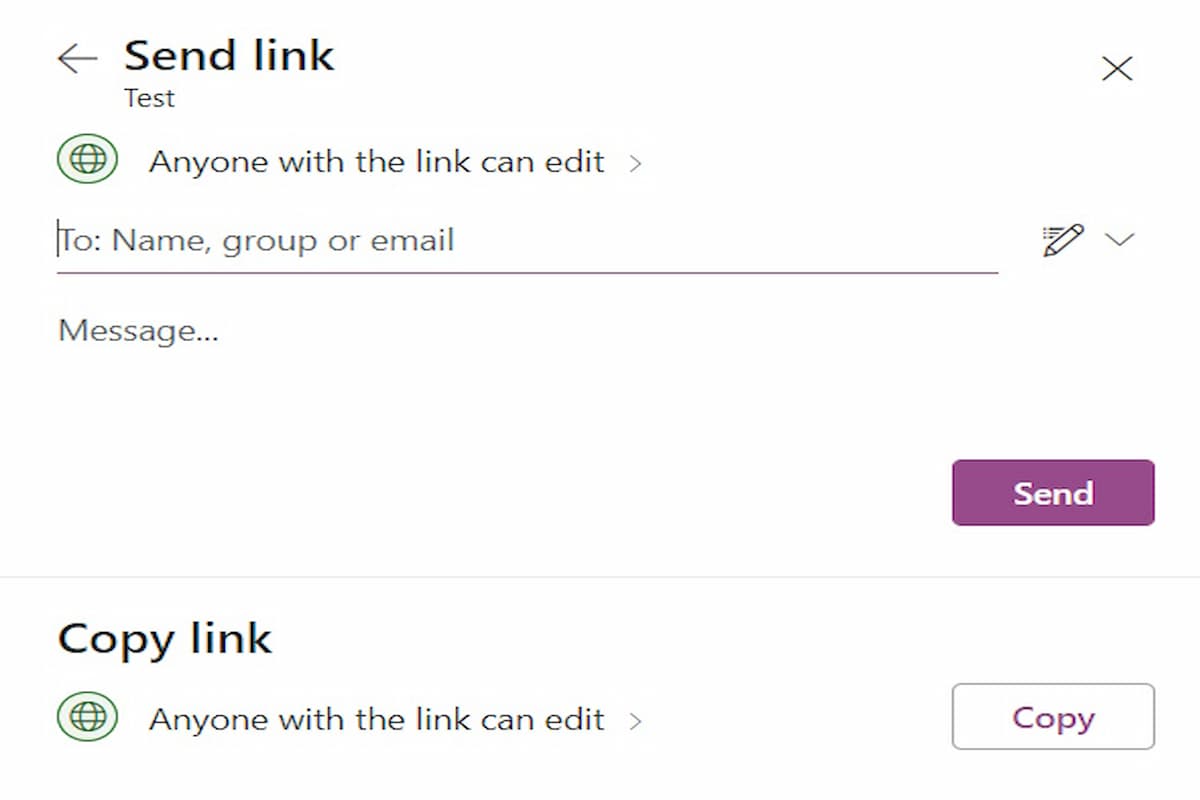 Sharing a Microsoft List via email or link
Alternatively, click the “Share” option at the top of the page to access these sharing settings directly.
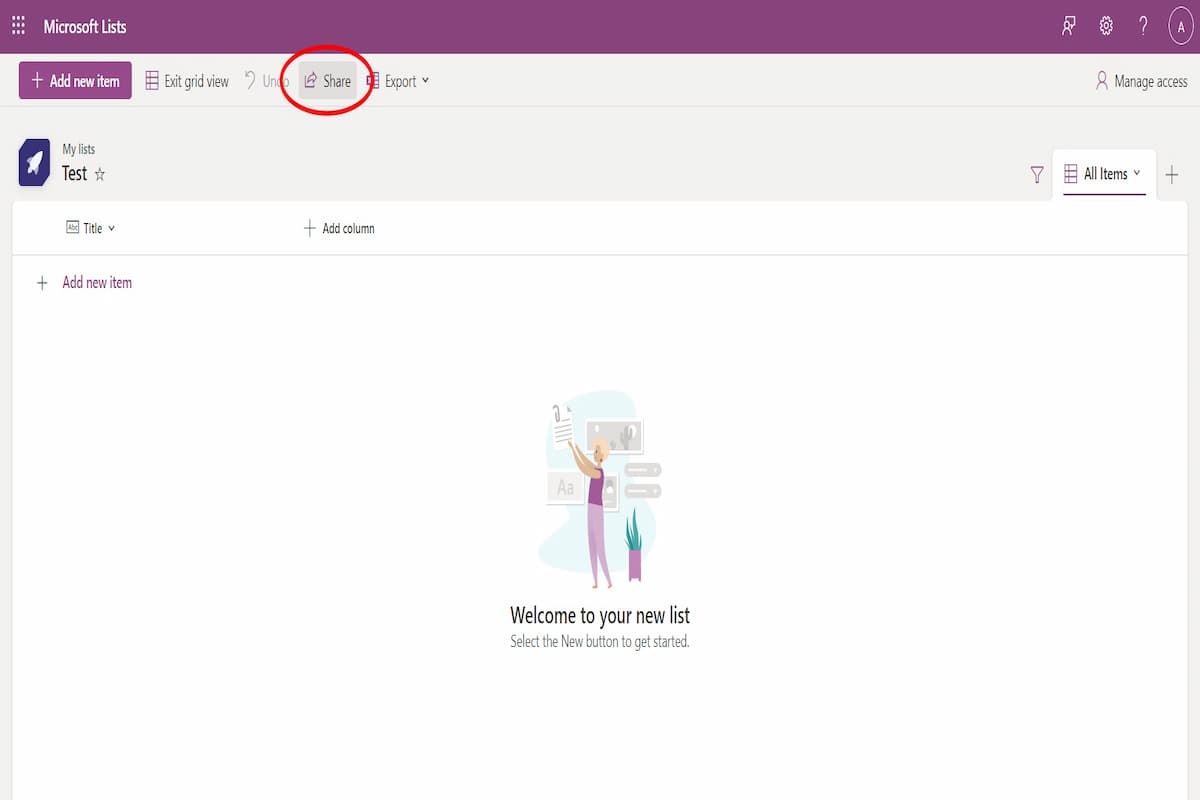 Direct share option within a Microsoft List
Conclusion
Microsoft Lists is a valuable tool for enhancing organization and productivity. By following these steps, you can effectively create, customize, and share lists to manage various aspects of your personal and professional life. From tracking project progress to planning events, Microsoft Lists empowers you to stay organized and achieve your goals.


