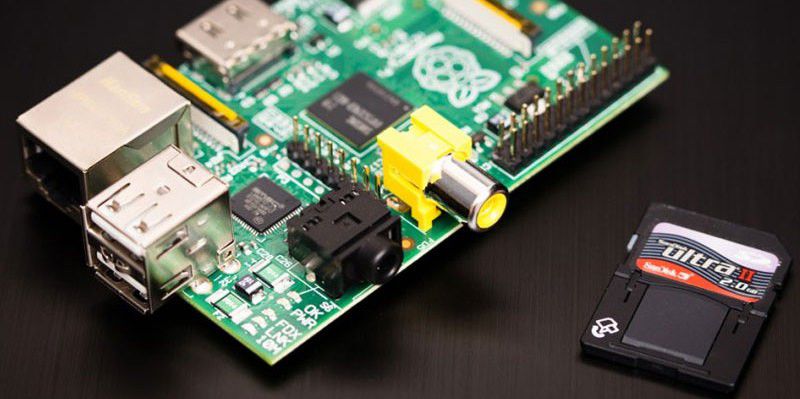
A printer’s production consumes significant raw materials and energy. Maximizing its lifespan contributes to sustainability. Repurposing older printers, even those without built-in networking, is possible with a Raspberry Pi. This allows you to create a network-compatible printer and enable wireless printing, even from your smartphone.
Prerequisites for Your Raspberry Pi Print Server
Your printer needs a USB interface to connect to the Raspberry Pi. Check online for compatible Linux drivers. If your printer works on a Linux desktop, it should function seamlessly with this setup. Even an older Raspberry Pi model will suffice; this guide utilizes a Raspberry Pi 5. This tutorial assumes you’ve installed an operating system (we use Raspberry OS) on your Pi and have an active internet or local network connection. We’ll primarily use the console, accessed via SSH from another computer. If you have a monitor and keyboard connected to the Pi, you can use the desktop terminal.
Setting Up the Print Server
 Configuring the Cups Configuration File
The Common Unix Printing System (CUPS) is essential. It’s usually installed automatically with the operating system. To ensure it’s installed, run:
sudo apt install cupsIf the system indicates you have the latest version, you’re good to go. Grant your standard user (usually “pi”) permission to modify the printer system:
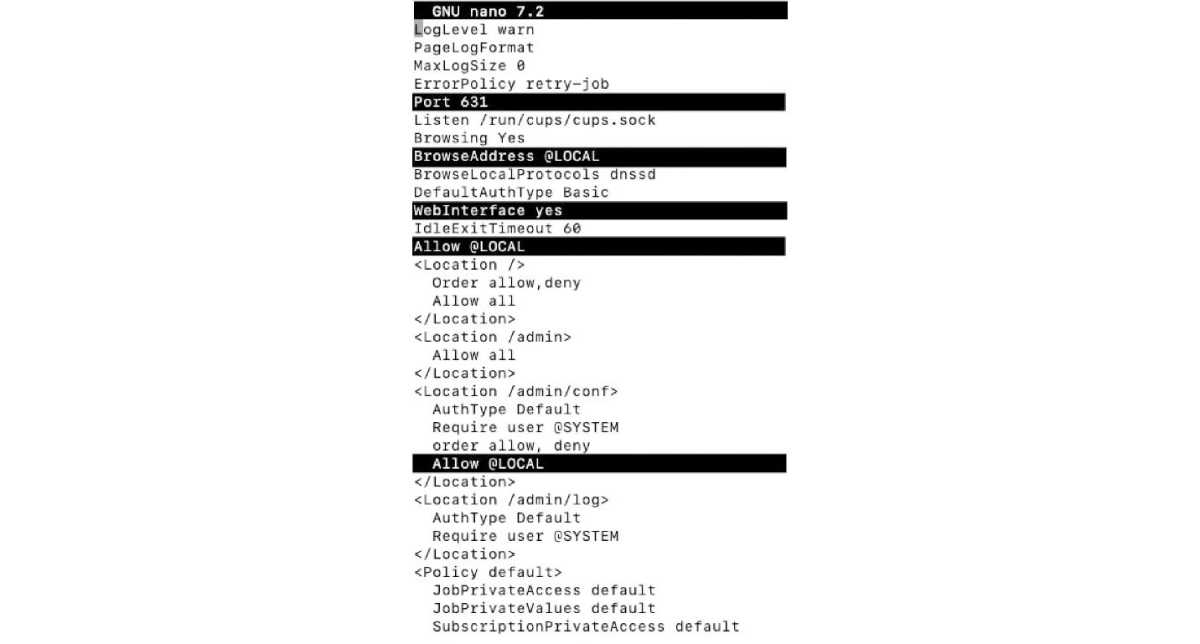
sudo usermod -a -G lpadmin piThis user will need to log in when making changes to the printing system via a browser, like adding a printer. Next, modify the CUPS configuration file (/etc/cups/cupsd.conf). Comment out the line “Listen localhost:631” by adding a “#” at the beginning. If it isn’t already present, add the line “Port 631”. Newer operating systems may already have this configuration.
Ensure the line “WebInterface Yes” exists. If not, add it. Near the port specification, you should find “Browsing Yes”. Add the following line below it:
BrowseAddress @LOCALThis allows other systems on your network to detect the connected printers. You’ll also see several lines starting with “<Location” restricting access to directories. Add “Allow @LOCAL” within each of these sections. Save the file. Restart CUPS to apply the changes:
sudo service cups restartAdding Your Printer
 Accessing Printer Setup
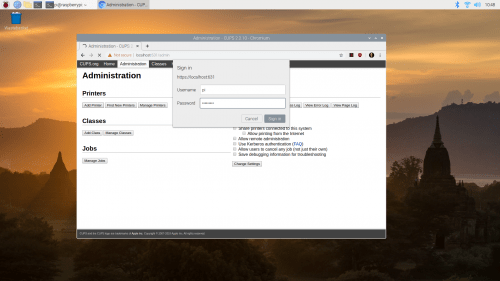
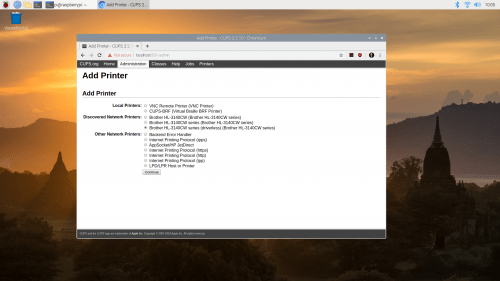
With the setup complete, configure everything else through a browser on your local network. Access the Raspberry Pi’s IP address with port 631 appended (e.g., http://[Raspberry Pi IP]:631). CUPS should greet you with its homepage. Connect your printer to the Raspberry Pi via USB and power it on. In CUPS, navigate to “Administration” and click “Add Printer.” You’ll be redirected to the /admin page. Click “Add Printer” again. If your printer is supported, it should appear under “Local Printers.” Select it and click “Next.”
 Adding the Printer in CUPS
Enter the printer’s name (this will be its name on other devices), a description, and an optional location. Enable network sharing to make it accessible from other devices. Select the manufacturer and then the specific model. If your exact model isn’t listed, choose the closest match. Confirm the details to add the printer.
Printer Setup on Linux and Windows
Sharing the printer doesn’t eliminate the need for drivers on client operating systems. Linux systems often handle this well, especially if the printer is already configured in CUPS. The setup process varies slightly between distributions.
On Ubuntu, search for “printer,” click the result, and select “Add Printer.” If the shared printer isn’t listed, click “Add Printer” again. Choose your printer and click “Add.” Ubuntu will automatically search for and install the appropriate driver. If there are issues, navigate to the printer’s details and retry the driver search. You can also manually upload a PPD file or browse the driver database by manufacturer.
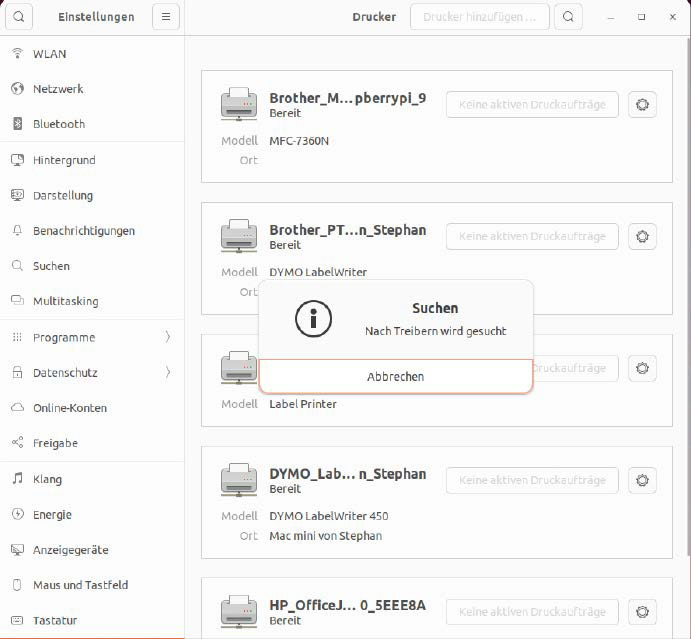 Configuring Driver on Client Machines
On Windows, search for “Printer” in the Start menu. Click “Add device.” Windows will scan for local and network printers. Select your shared printer and click “Add device.” Windows will then attempt to automatically install the necessary driver. If this fails, you may need to manually download and install the driver from the manufacturer’s website. Most modern printers are automatically recognized by Windows.
Printer Setup on macOS and AirPrint
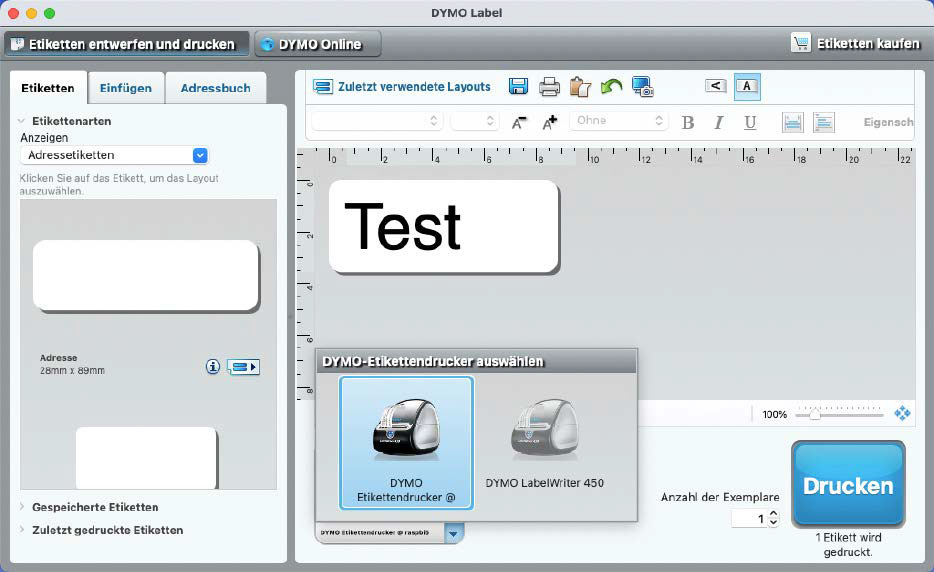 Using the Label Printer on Mac via Network
On macOS, go to System Preferences and select “Printers & Scanners.” Click the plus sign to add a printer. Recent Raspberry OS versions install the necessary Apple protocol with CUPS, so your printer should be discoverable. Select the printer and then choose the appropriate driver using “Select Software.”
For wireless printing from Apple devices, AirPrint is required. AirPrint leverages the Bonjour service. To make your Raspberry Pi printer AirPrint compatible, ensure the Avahi daemon is running. It’s usually installed automatically with CUPS on newer Raspberry OS versions. Test AirPrint functionality by attempting to print from an iOS device. Your printer should appear in the available printer list.
Case Study: Dymo LabelWriter
A Dymo LabelWriter, previously directly connected, can be networked using this method. Software like Lprint ensures cross-platform compatibility. For optimal results, install the manufacturer’s driver package:
apt install printer-driver-dymoThis installs the necessary PPD files. Configure the printer as described above. Applications like Lprint will handle label selection and communication with the printer. The printer should be available on client devices after setup, unless the application uses a proprietary printing method. For specialized printers, you may need to manually locate and install a PPD file to ensure correct formatting. Without a PPD file, printouts might have unexpected sizing issues.


