When your computer starts, it relies on the BIOS (Basic Input/Output System) or its modern equivalent, UEFI (Unified Extensible Firmware Interface), to initialize hardware and load the operating system. While you might not interact with the BIOS/UEFI frequently, understanding its functions and capabilities can be crucial for troubleshooting, optimizing performance, and customizing your system. This guide provides a comprehensive overview of the BIOS/UEFI, including how to access it, navigate its settings, and perform essential tasks.
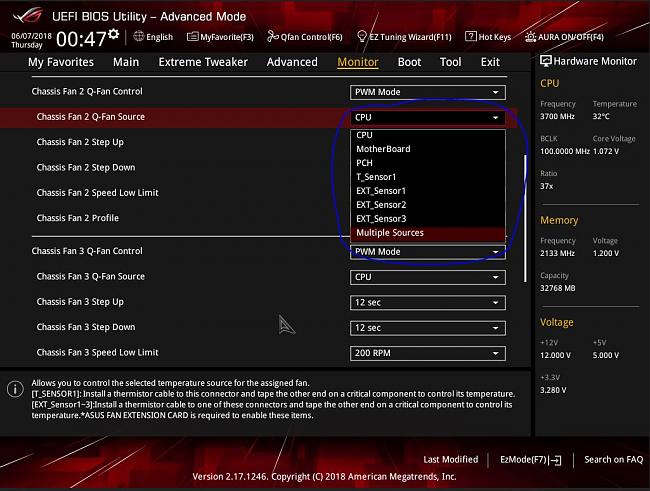 Asus ROG UEFI. MaagX
Decoding the BIOS/UEFI
The BIOS, or more accurately UEFI on modern PCs, is firmware that acts as a bridge between your hardware and operating system. While UEFI offers a more modern interface with mouse support and advanced features, the term “BIOS” is still commonly used to refer to both.
Essentially, the BIOS/UEFI initializes your hardware components, checks their compatibility, and prepares the system for the operating system. It provides a range of configurable settings, including boot order, security features, processor speed, memory voltage, and system time. While advanced motherboards offer extensive customization options, some systems, like Microsoft Surface devices, may have a more limited BIOS/UEFI. Regular BIOS/UEFI updates, at least annually, are recommended to benefit from the latest bug fixes, stability improvements, and feature additions.
Accessing the BIOS/UEFI
There are two main methods for accessing the BIOS/UEFI.
Method 1: Startup Key
Step 1: Power on your PC and immediately begin repeatedly pressing the designated BIOS/UEFI key. This key varies depending on the manufacturer and can be the Delete key or a Function key (F1, F2, F3, F10, F12 are common). The correct key is often displayed briefly during startup. Consult your motherboard or PC manual, or the manufacturer’s website if you’re unsure.
Step 2: Continue tapping the key approximately once per second until the BIOS/UEFI interface appears. The time it takes to enter the BIOS/UEFI can vary, so be patient. If Windows loads instead, you may have missed the timing, pressed the wrong key, or encountered a keyboard/PC registration issue.
Method 2: Windows Recovery Options
Step 1: Search for “Recovery” in the Windows search bar and select “Recovery options.”
Step 2: Click “Restart now” under “Advanced startup.”
Step 3: In the Advanced startup menu, choose “Troubleshoot” > “Advanced options” > “UEFI Firmware Settings” > “Restart.” This will reboot your PC directly into the BIOS/UEFI without requiring key presses.
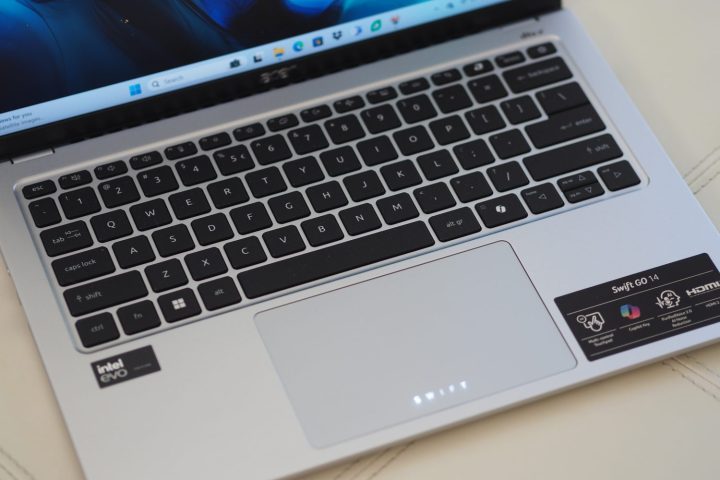 Acer Swift Go 14 top down view showing keyboard and touchpad. Mark Coppock / MaagX
Overclocking via BIOS/UEFI
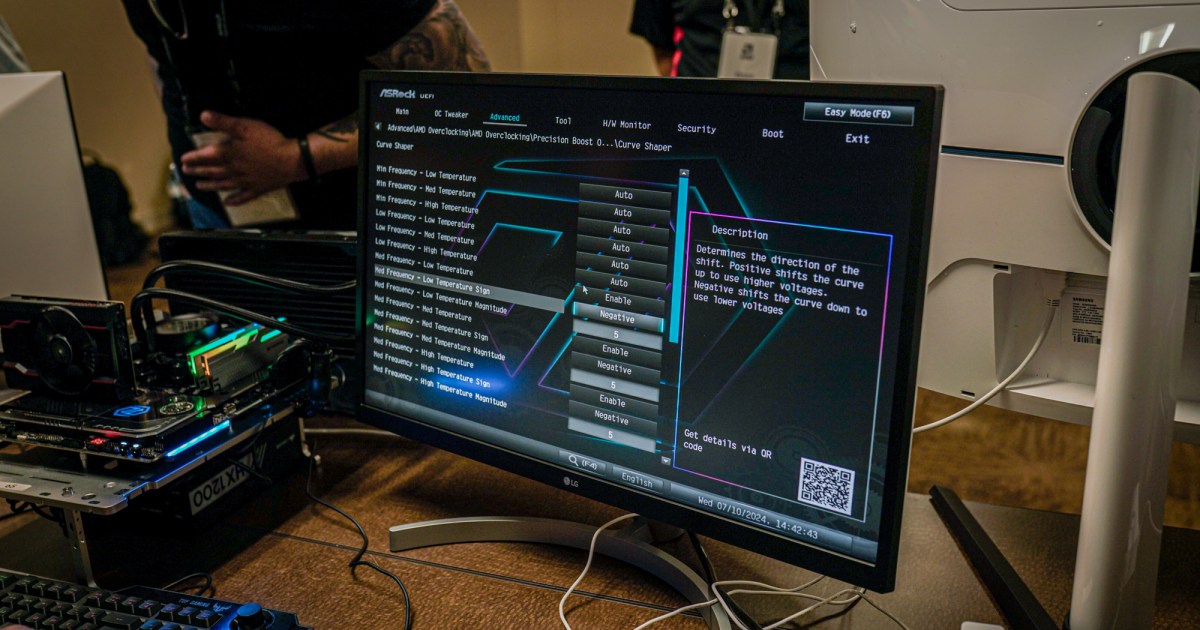
While Windows-based overclocking utilities exist, the BIOS/UEFI provides more granular control over processor and RAM overclocking. This method, however, requires caution, as incorrect settings can lead to system instability or boot failures. (A BIOS reset can usually rectify these issues.) We recommend consulting our dedicated guides for detailed instructions on overclocking your CPU and RAM safely.
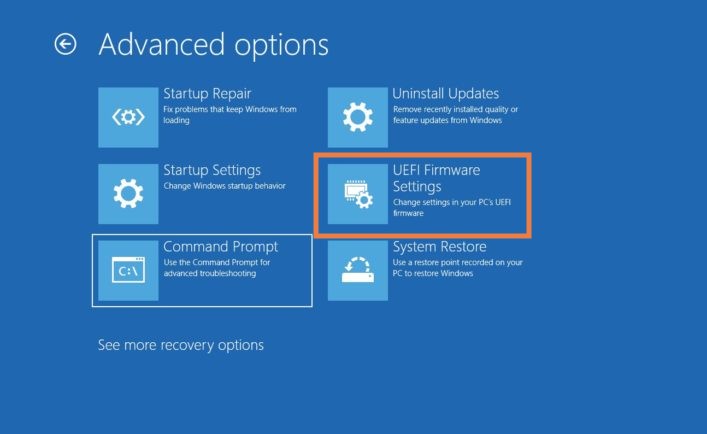 UEFI reboot. MaagX
Managing Boot Options
The BIOS/UEFI allows you to customize the boot order and prioritize specific devices or drivers. This is helpful for optimizing boot times, booting from external media, and configuring specific hardware. Navigate the boot settings within your BIOS/UEFI to prioritize the desired boot device.
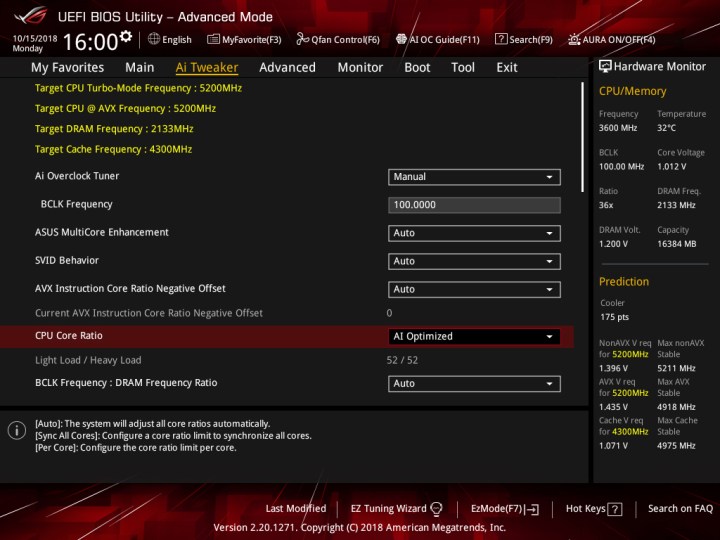 ASUS ROG BIOS. MaagX
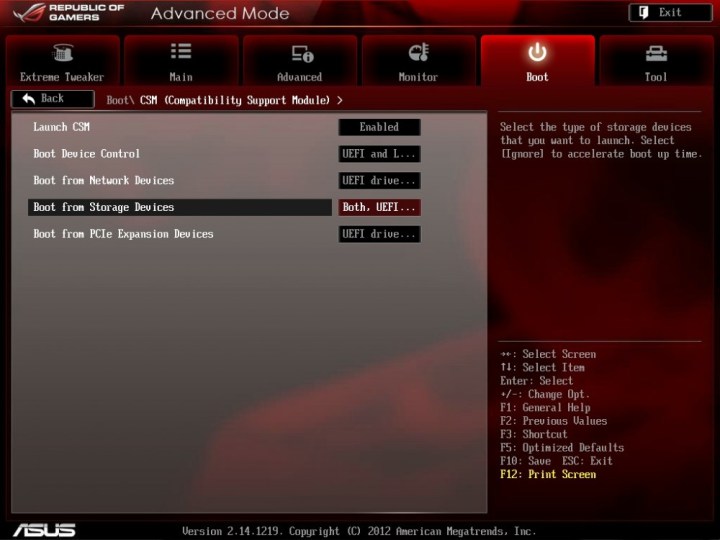 ASUS ROG boot options. MaagX
Controlling Fan Settings
Many BIOS/UEFI interfaces provide options for monitoring and adjusting fan speeds. Some offer detailed fan curves for precise control, while others provide pre-configured fan profiles. Adjusting these settings can help balance cooling performance with noise levels.
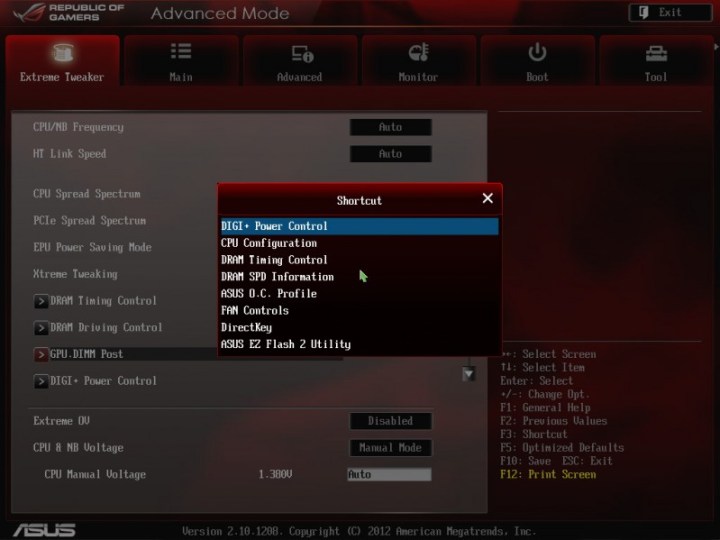 CPU fan options. MaagX
Updating the BIOS/UEFI
Updating your BIOS/UEFI has become significantly easier with modern systems. Most UEFI interfaces include a built-in flash utility, typically found within the “Tools” or “Advanced” sections. Before updating, download the latest BIOS/UEFI version from the manufacturer’s website and save it to a USB drive. Consult our detailed guide on how to update your BIOS for step-by-step instructions.


