Upgrading your laptop’s storage with a modern SSD can drastically improve its performance. Swapping an old hard drive for an SSD, or replacing an aging SATA SSD with a faster NVMe SSD, can transform a sluggish laptop into a speed demon. While not all laptops allow easy SSD replacement, for those that do, the process is surprisingly quick. This guide will walk you through how to install an SSD in your laptop.
Choosing the Right SSD
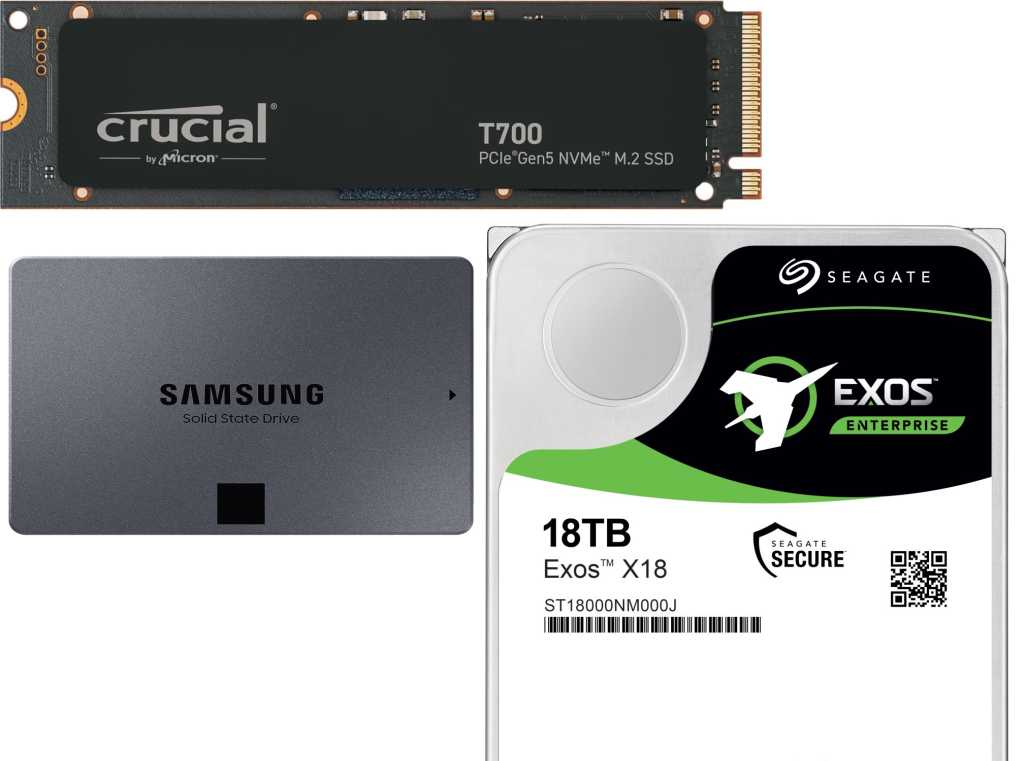
Before installing a new SSD, you need to select a compatible and high-performing drive. The ideal SSD depends on factors like your laptop’s size, available storage capacity, connection type (SATA or NVMe), and your budget. For a deeper dive into SSD selection, check out our comprehensive guide on how to buy an SSD.
Backing Up Your Data
Prior to any storage modifications, backing up your crucial data is paramount. This includes work documents, game saves, personal photos and videos, and any other irreplaceable files. Ensure these are securely backed up to an external SSD or a reliable cloud storage service. Accidental data loss can be devastating, so this precaution is essential, especially if you’re replacing your existing drive. Even if you’re adding a secondary SSD, backing up your data is still recommended.
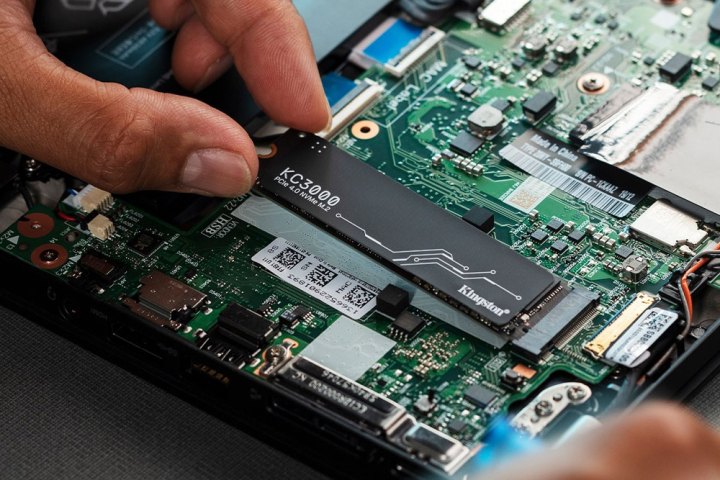 Installing a Kingston SSD.Kingston SSD Installation
SSD Installation Steps
Find a well-lit, level workspace free from distractions. Power down your laptop, unplug it, and remove the battery if possible. Laptops designed for SSD upgrades typically have a small access panel on the underside secured by screws. This compartment may also house RAM upgrades. The SSD compartment should be easily identifiable, but if unsure, unscrew both panels to locate the correct one.
Note: Some laptops require removing the entire bottom panel for upgrades. Proceed cautiously if you choose this route, keeping track of all screws and being mindful of any adhesive or fragile ribbon cables that might complicate the process.
Step 1: Adding a Secondary SSD
If your laptop has an extra slot for a new NVMe or SATA SSD, simply install the new drive alongside the existing one. If you need to replace an existing drive, continue with the following steps.
Step 2: Removing the Old Drive
Locate your existing hard drive or 2.5-inch SATA SSD. It’s usually secured by a few screws and connected by a pair of cables. Carefully disconnect these cables before gently pulling the drive free. You might need to pull in the opposite direction of the connectors before lifting it out.
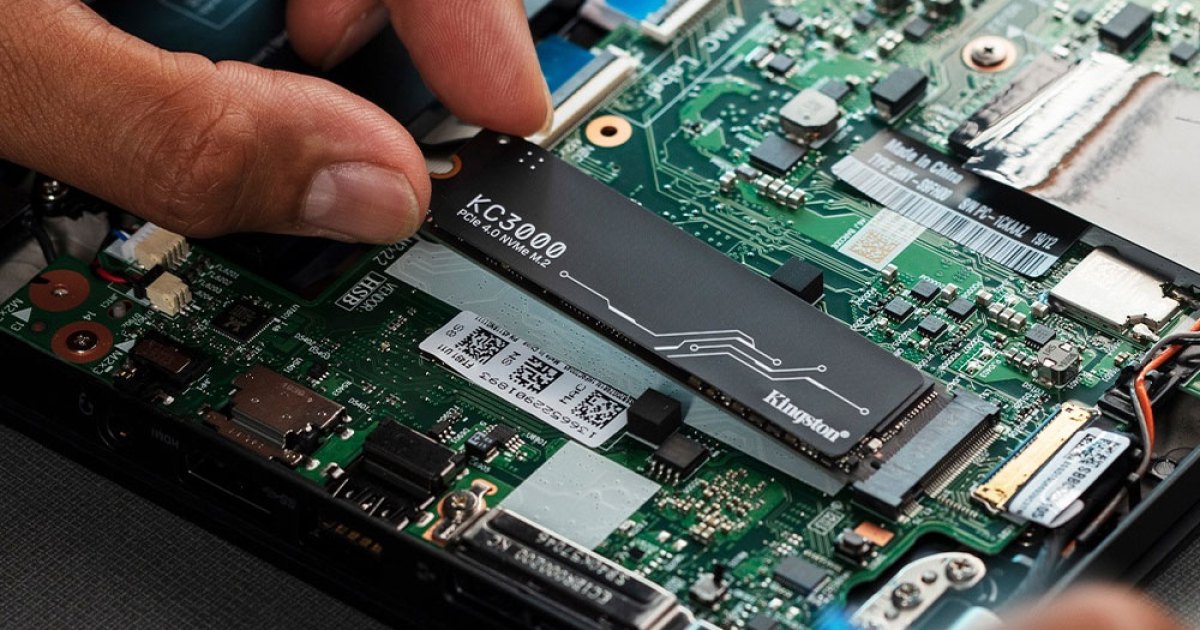
If your laptop has an NVMe drive, remove the retaining screw, gently lift the drive, and then pull it free from its socket.
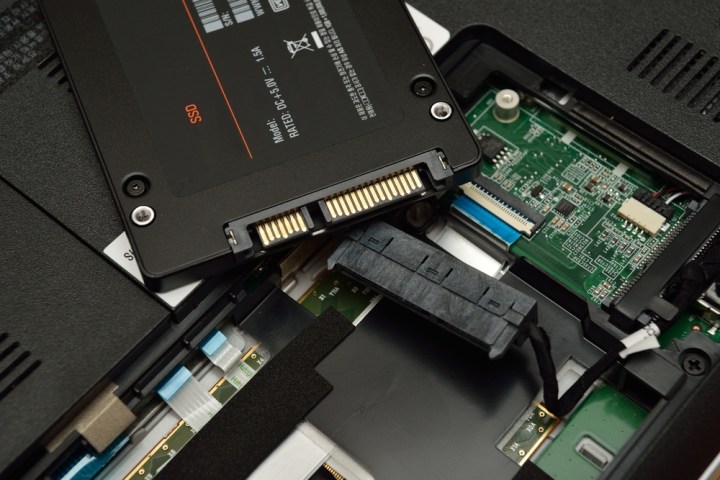 A SATA SSD in a laptop.SATA SSD in a laptop
Step 3: Installing the New SSD
For a SATA SSD, position it correctly in the storage bay, reconnect the cables, and secure it with the screws.
For an NVMe SSD, carefully insert it into the M.2 slot and press down on the opposite end until it sits flush. Secure the drive with the retaining screw.
Step 4: Initial Boot and Verification
Replace the storage bay panel and any other screws. Power on your laptop. The new SSD should appear in the BIOS/UEFI POST screen or in Windows File Explorer if it’s a secondary drive.
If the laptop doesn’t boot or the drive isn’t recognized, double-check the installation. Refer to our troubleshooting guide on what to do if your laptop won’t boot.
Step 5: Operating System and Driver Installation
If necessary, install Windows from a USB drive or external hard drive. Consult our Windows installation guide for detailed instructions.
After Windows installation, download and install the latest drivers for your laptop from the manufacturer’s website. Install essential applications and run Windows Update to ensure your system is up-to-date.
Conclusion
Upgrading your laptop with an SSD is a worthwhile investment that significantly boosts performance. By following these steps and exercising caution, you can successfully install an SSD and enjoy a faster, more responsive laptop.


