Recovering a lost or deleted file on your Mac can be stressful, but macOS offers several recovery options depending on how the file was lost. This guide walks you through the quickest and easiest methods, progressing to more advanced techniques and software solutions for restoring files, folders, and other items.
 Time Machine backup on a MacBook.
Undo Your Last Action: The Quickest Fix
The simplest way to recover a recently deleted file is using the Undo function. This works if deleting the file was your last action. For instance, if you accidentally moved a file to the Trash:
- Open the folder where the file originally resided.
- Navigate to Edit > Undo Move in the menu bar.
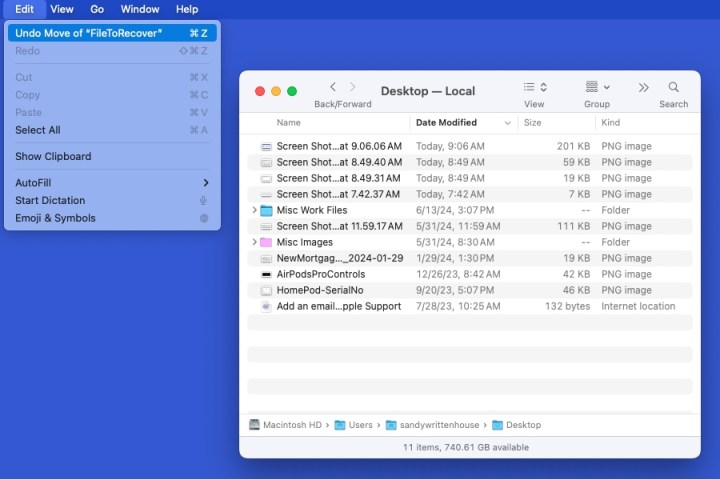 Undo Move a file from the Trash on Mac.
The file should be restored to its original location.
Restoring Files from the Trash
If you’ve performed other actions since deleting the file, the Undo function won’t work. Your next option is the Trash folder, provided you haven’t emptied it.
- Open the Trash folder located on your Dock.
- Right-click the file you wish to restore and select Put Back. This returns the file to its original location. Alternatively, drag the file from the Trash to the desired location.
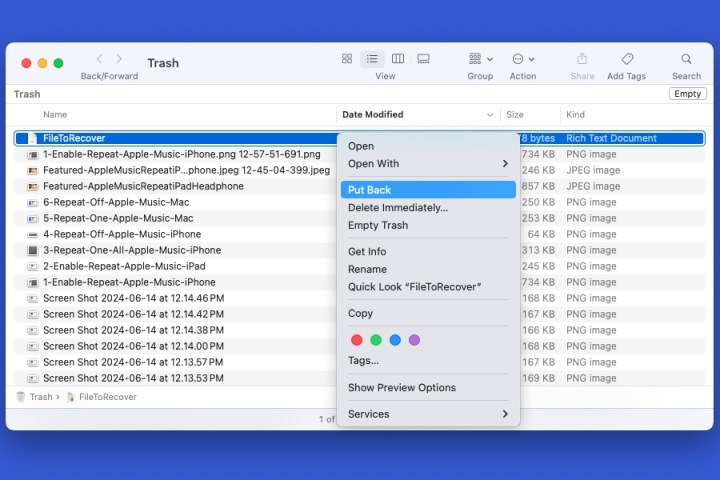 Put Back in the file menu in Trash on Mac.
Retrieving Files from Recently Deleted Folders (Apple Apps)
Apple apps like Photos, Notes, and Mail have their own “Recently Deleted” folders. If you’ve deleted an item within one of these apps, you can often retrieve it from there. For example, to recover a deleted photo:
- Open the Photos app.
- Select Recently Deleted in the sidebar.
- Authenticate if required (password or Touch ID).
- Right-click the photo and choose Recover.
 Recover a picture in Photos on Mac.
The photo will be restored to your Library.
Utilizing Time Machine for File Restoration
If the above methods fail, Time Machine, macOS’s built-in backup utility, can be a lifesaver. It allows you to browse previous backups and restore files to a point in time before they were lost.
- Open the folder that originally contained the file.
- Launch Time Machine either through Finder > Go > Applications > Time Machine or by clicking the Time Machine icon in the menu bar and selecting Browse Time Machine Backups.
- Use the timeline or arrows to navigate to a backup before the file was deleted.
- Select the file and click Restore.
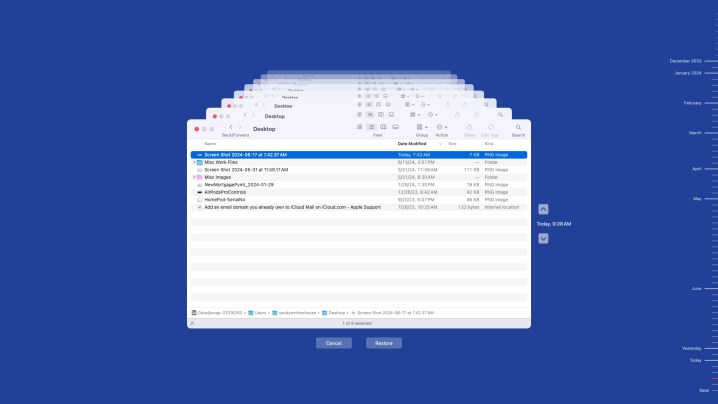 Restore a file in Time Machine on Mac.
Recovering Files with Terminal (Advanced Users)
For those comfortable with Terminal commands, this method offers another recovery option. However, it’s not recommended for beginners as incorrect commands can have unintended consequences. Full disk access is required for these commands.
To restore a file from the Trash:
- Open Terminal (Finder > Go > Utilities > Terminal).
- Enter
cd .Trashto access the Trash directory. - Enter
ls -al ~/.Trashto list the contents. - Enter
mv filename ../replacing “filename” with the exact name of your file.
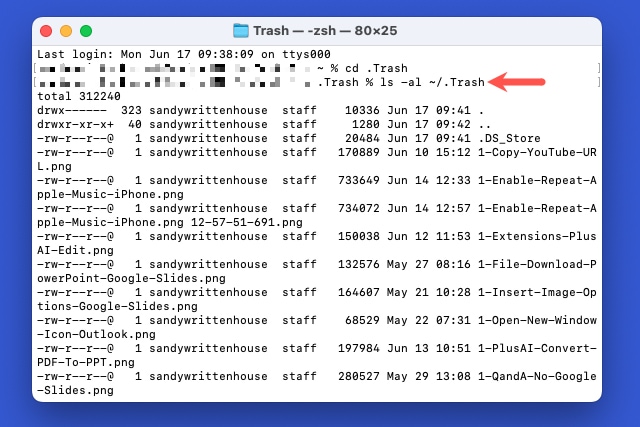 Trash contents in Terminal on Mac.
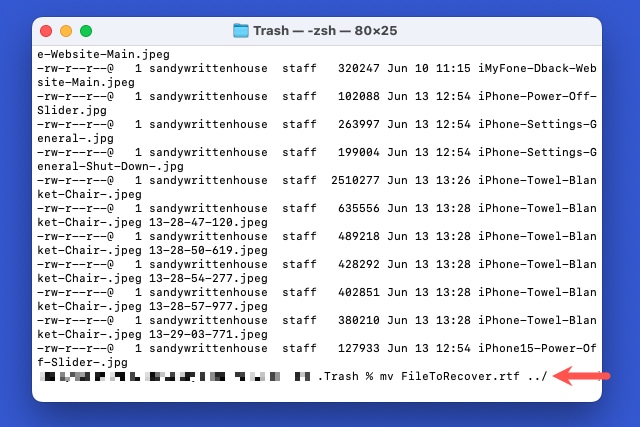 Move a file from the Trash in Terminal on Mac.
- Return to the previous directory with
cd /and close Terminal.
Data Recovery Software: A Last Resort
If all else fails, or if you have extensive data loss, consider specialized data recovery software. These tools offer advanced recovery capabilities but often come at a cost. Two popular options are EaseUS Data Recovery Wizard and CleverFiles Disk Drill. Both offer free and paid versions with varying features. EaseUS specializes in personal data recovery and Time Machine/iTunes backups, while Disk Drill supports a wide range of storage devices.
This guide provides a range of solutions for recovering deleted files on your Mac. From simple undo actions to advanced software, choose the method that best suits your situation and technical proficiency.


