The great news for Windows 10 users is that a free upgrade to Windows 11 24H2, the latest iteration of Microsoft’s operating system, is available. This is particularly relevant as official support for Windows 10 is scheduled to end on October 14, 2025. Beyond this date, while Windows 10 will continue to function, Microsoft will cease aining security updates, potentially exposing users to vulnerabilities. If the direct update notification doesn’t appear within your Windows 10 system, you can directly download the new version from Microsoft. The official website provides the Windows 11 installation files, which can be used to create a bootable USB drive. Crafting such a USB stick is advisable even if you’re not planning an immediate upgrade, ensuring you’re prepared to transition to the latest version at your convenience. It’s also a prudent step to retrieve your Windows 10 serial number or product key beforehand, keeping it accessible for the Windows 11 installation or update process.
Who Is Eligible for a Free Upgrade to Windows 11?
Microsoft is continuing its policy of allowing eligible devices to upgrade from Windows 10 to Windows 11 without any charge. This free upgrade path remains open, provided the device meets the stipulated minimum hardware requirements and the upgrade is performed using official tools like the Windows 11 Installation Assistant or Windows Update. Using tools other than those mentioned in this official context may affect your support status for Windows 11.
After October 14, 2025, official support for Windows 10 will conclude. This means Microsoft will no longer offer free security updates, technical assistance, or bug fixes for the Windows 10 operating system. For users who intend to continue using Windows 10 past this deadline, Microsoft will offer a paid Extended Security Updates (ESU) program. This program enables private users to receive critical security updates for an additional year, at a cost of 30 US dollars.
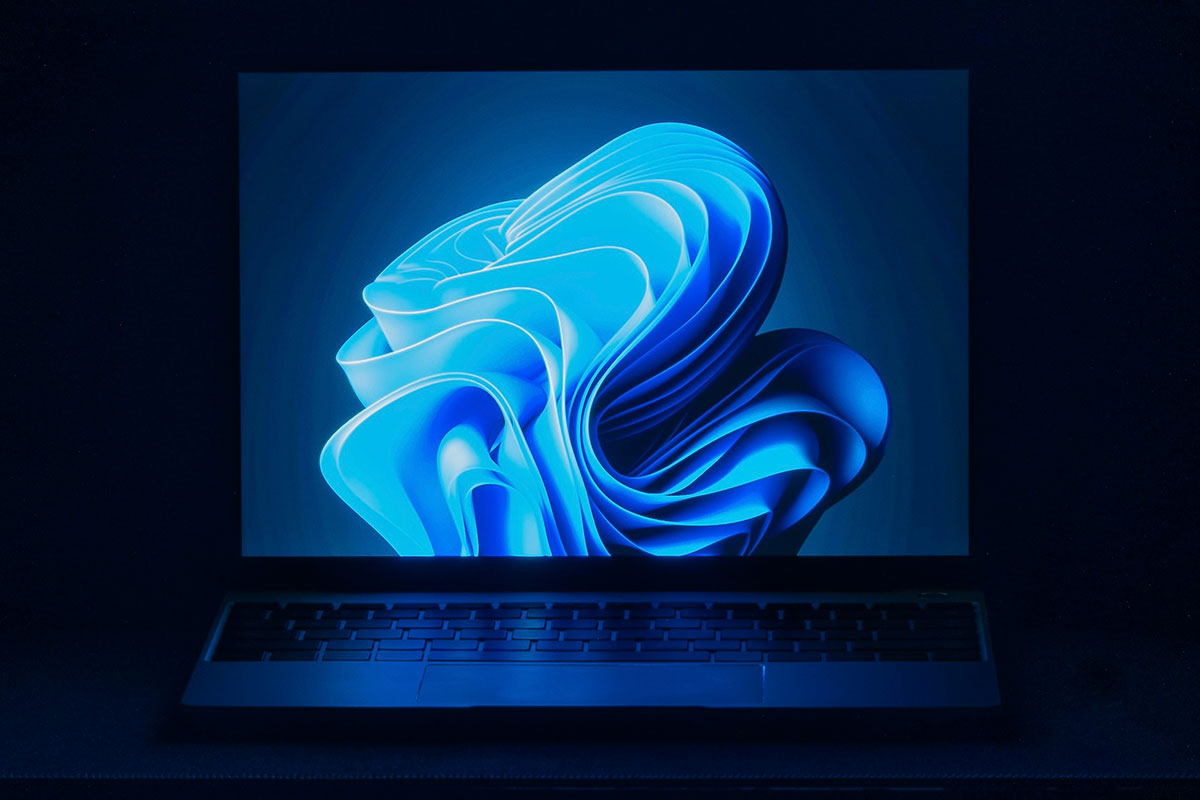 Desktop displaying the Windows 11 bloom wallpaper, symbolizing an upgrade.
The possibility of upgrading from Windows 10 to Windows 11 after October 14, 2025, hinges on future decisions by Microsoft. Currently, there is no official confirmation on whether the free upgrade offer will persist beyond this support end date. Users are therefore strongly encouraged to upgrade before the Windows 10 end-of-support deadline to avail themselves of the current free upgrade conditions.
It’s crucial to understand that Windows 11 has specific hardware prerequisites. These include TPM 2.0 (Trusted Platform Module), Secure Boot capability, and compatible processors, generally from the 8th generation of Intel CPUs or their AMD equivalents. Microsoft has been firm that these requirements will not be relaxed, and older devices lacking these specifications will not be officially supported. While unofficial methods exist for installing Windows 11 on unsupported hardware, such approaches can lead to system instability and a lack of critical updates. [internal_links] For users whose devices do not meet these official requirements, the recommended course of action is to consider purchasing a new PC that comes with Windows 11 pre-installed. Microsoft provides various programs and tools designed to facilitate a smoother transition.
How to Check if Your PC Can Be Updated to Windows 11 24H2
Microsoft offers the free PC Health Check app, a tool designed to help you determine if your Windows 10 system is capable of upgrading to Windows 11. To use it, simply download and launch the application, then click the “Check now” button.
If your PC does not (officially) meet the upgrade requirements, the PC Health Check app will clearly indicate this and provide the reasons. Often, if TPM 2.0 is not activated, you can enable this security chip, which is mandatory for Windows 11, within your computer’s BIOS settings. If your PC entirely lacks this chip, alternative methods for proceeding are discussed later in this guide.
In many instances, Windows 11 operates just as stably and swiftly on PCs as Windows 10 – sometimes even offering enhanced speed and stability, even without a TPM chip. However, this is not a universal guarantee. Running Windows 11 on hardware that is not officially compatible is always undertaken at your own risk.
Updating Windows 10 to Windows 11 24H2
To initiate the update from Windows 10 to Windows 11 24H2, navigate to the official “Download Windows 11” website. Once there, locate the “Windows 11 Installation Assistant” section and click on “Download now.” If your hardware is compatible with Windows 11, the update process will commence smoothly, and all your existing applications, settings, and personal data will be preserved.
Nevertheless, performing a comprehensive backup of your computer before starting the upgrade is highly recommended. This can be achieved efficiently using the free Microsoft Disk2VHD tool. Ensure you save this backup to an external storage device. The tool creates a virtual hard drive (VHD) file that contains a complete image of your existing drive, safeguarding your data against any unforeseen issues.
Once the Windows 11 installation begins, click “Next” when prompted by the “Install Windows 11” screen.
The installation wizard will then proceed to check for necessary updates and may restart your computer in some cases. This part of the process can take several minutes. After you accept the license terms, the update check often runs again. This cycle continues until the installation wizard is fully current. Naturally, these steps require an active internet connection for the PC.
It is critically important to ensure that the “Keep personal data and apps” option is selected in the “Ready for installation” window. If this option is not pre-selected, you can change it by clicking on “Change what to keep.”
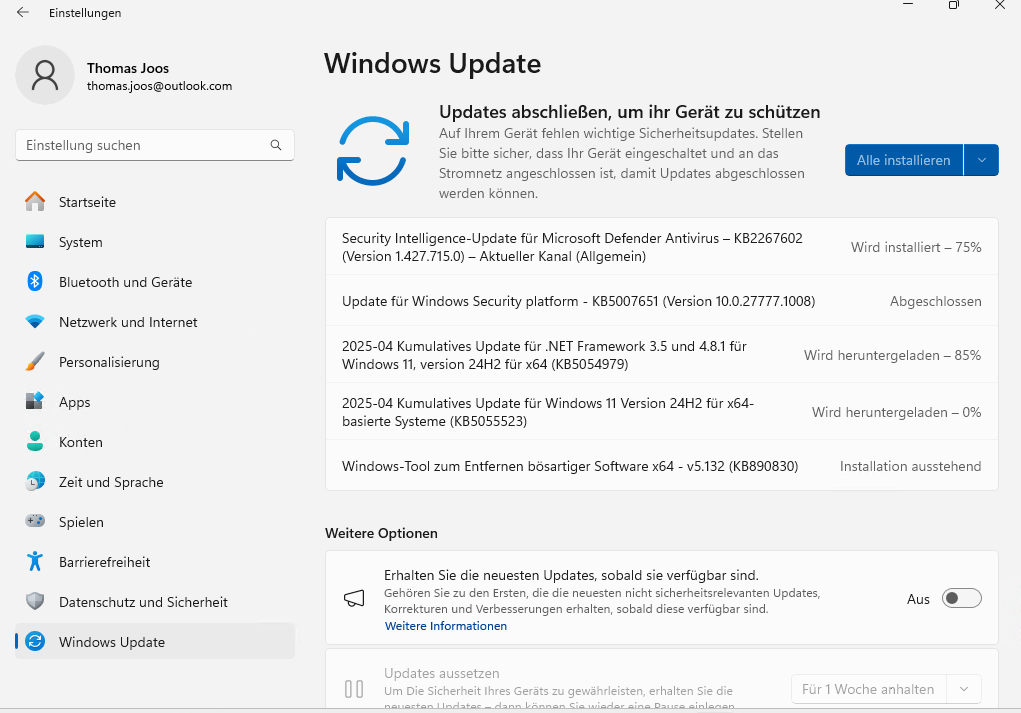 Windows 11 settings screen showing the Windows Update section with a prompt to install security updates.
Then, click “Install” to commence the upgrade. After successfully upgrading to Windows 11 24H2, you should navigate to Windows settings, specifically under “Windows Update,” to install any further latest updates.
Once these final updates are completed, the upgrade process is finished, and you can begin exploring Windows 11. If, for any reason, you are not satisfied with Windows 11, you have the option to revert to your previous operating system. This can be done in the settings under “System -> Recovery -> Go back.” However, it’s important to note that this rollback feature doesn’t always work reliably, as Microsoft might remove the necessary files from the system after a certain period or specific updates.
Updating Windows 10 to Windows 11 24H2 Without Compatible Hardware
If the Windows 11 Installation Assistant informs you that your PC cannot be updated to Windows 11 24H2 due to hardware incompatibility, it is often still possible to proceed, albeit unofficially. First, download the free Rufus tool and launch it. You can opt for the portable version, which does not require installation; simply run the program. You will also need a USB stick with a minimum of 8 GB of storage, though more is preferable. Connect this USB stick to the PC on which you intend to install Windows 11. Be aware that all data currently on the USB stick will be erased during the formatting process.
Start Rufus and ensure you select “Yes” when prompted about checking for application updates. This allows the tool to connect to the internet, enabling you to download the Windows 11 installation files directly within the Rufus interface. If you accidentally decline this option, you can re-enable it later in the Rufus settings (found at the bottom of the window) by clicking “Check now.”
Next, under “Device,” select the USB stick you intend to use. Then, under “Boot selection,” click the dropdown and choose “Disk or ISO image (Please select)”. Click the “SELECT” button. If you haven’t downloaded the ISO yet, you can change the “SELECT” button to “DOWNLOAD”. Choose “Windows 11” under “Version,” and then click “Continue.”
Under “Release,” select the “24H2” option. For “Edition,” choose “Windows 11.” Select your desired language, choose “x64” for Architecture, and then click “Download” to save the Windows 11 ISO file to a directory on your computer. Alternatively, you can download the Windows 11 ISO file externally from the Microsoft download page linked earlier and then select it in Rufus using the “SELECT” button. The download duration will vary depending on your internet connection speed.
Once Rufus has either downloaded the installation files or you have manually added the ISO via “SELECT,” click “Start.” A new window will appear. By default, options that can bypass Windows 11 installation checks (like TPM 2.0, Secure Boot, and RAM requirements) will be enabled, along with an option to set up Windows 11 using a local user account instead of a Microsoft account.
Select the options that meet your needs, then click “OK.” Finally, confirm the warning prompt that states the USB stick will be formatted.
Attention: All data on the USB stick will be erased during this process.
You can then use this specially prepared USB stick to update PCs running Windows 10 to Windows 11 24H2, or to perform a clean installation of Windows 11 24H2, even on unsupported hardware. In Windows 10, open the USB drive via File Explorer and run the “Setup.exe” file. The Windows 11 installation process will then begin. Please be patient, as it may take some time for the installation wizard to initialize. The PC will then be updated following a similar process to the official method described earlier.


